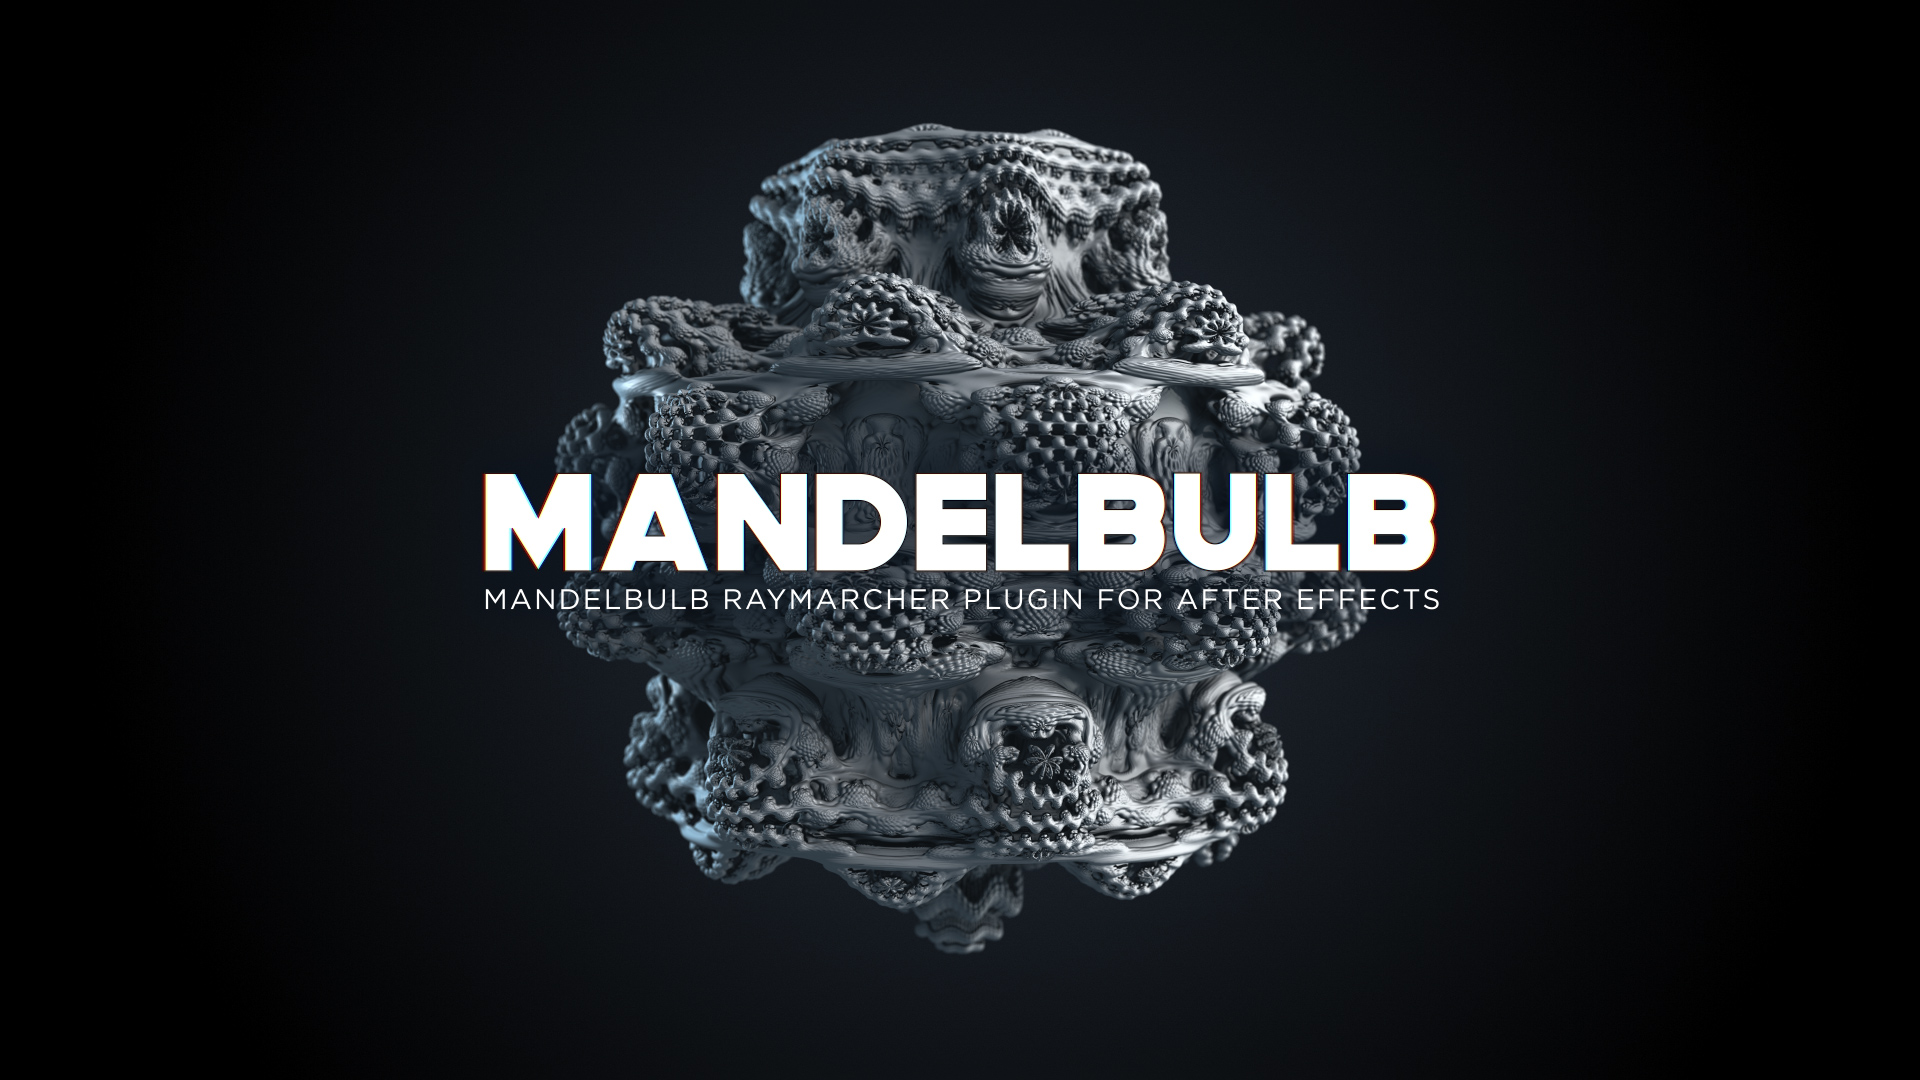
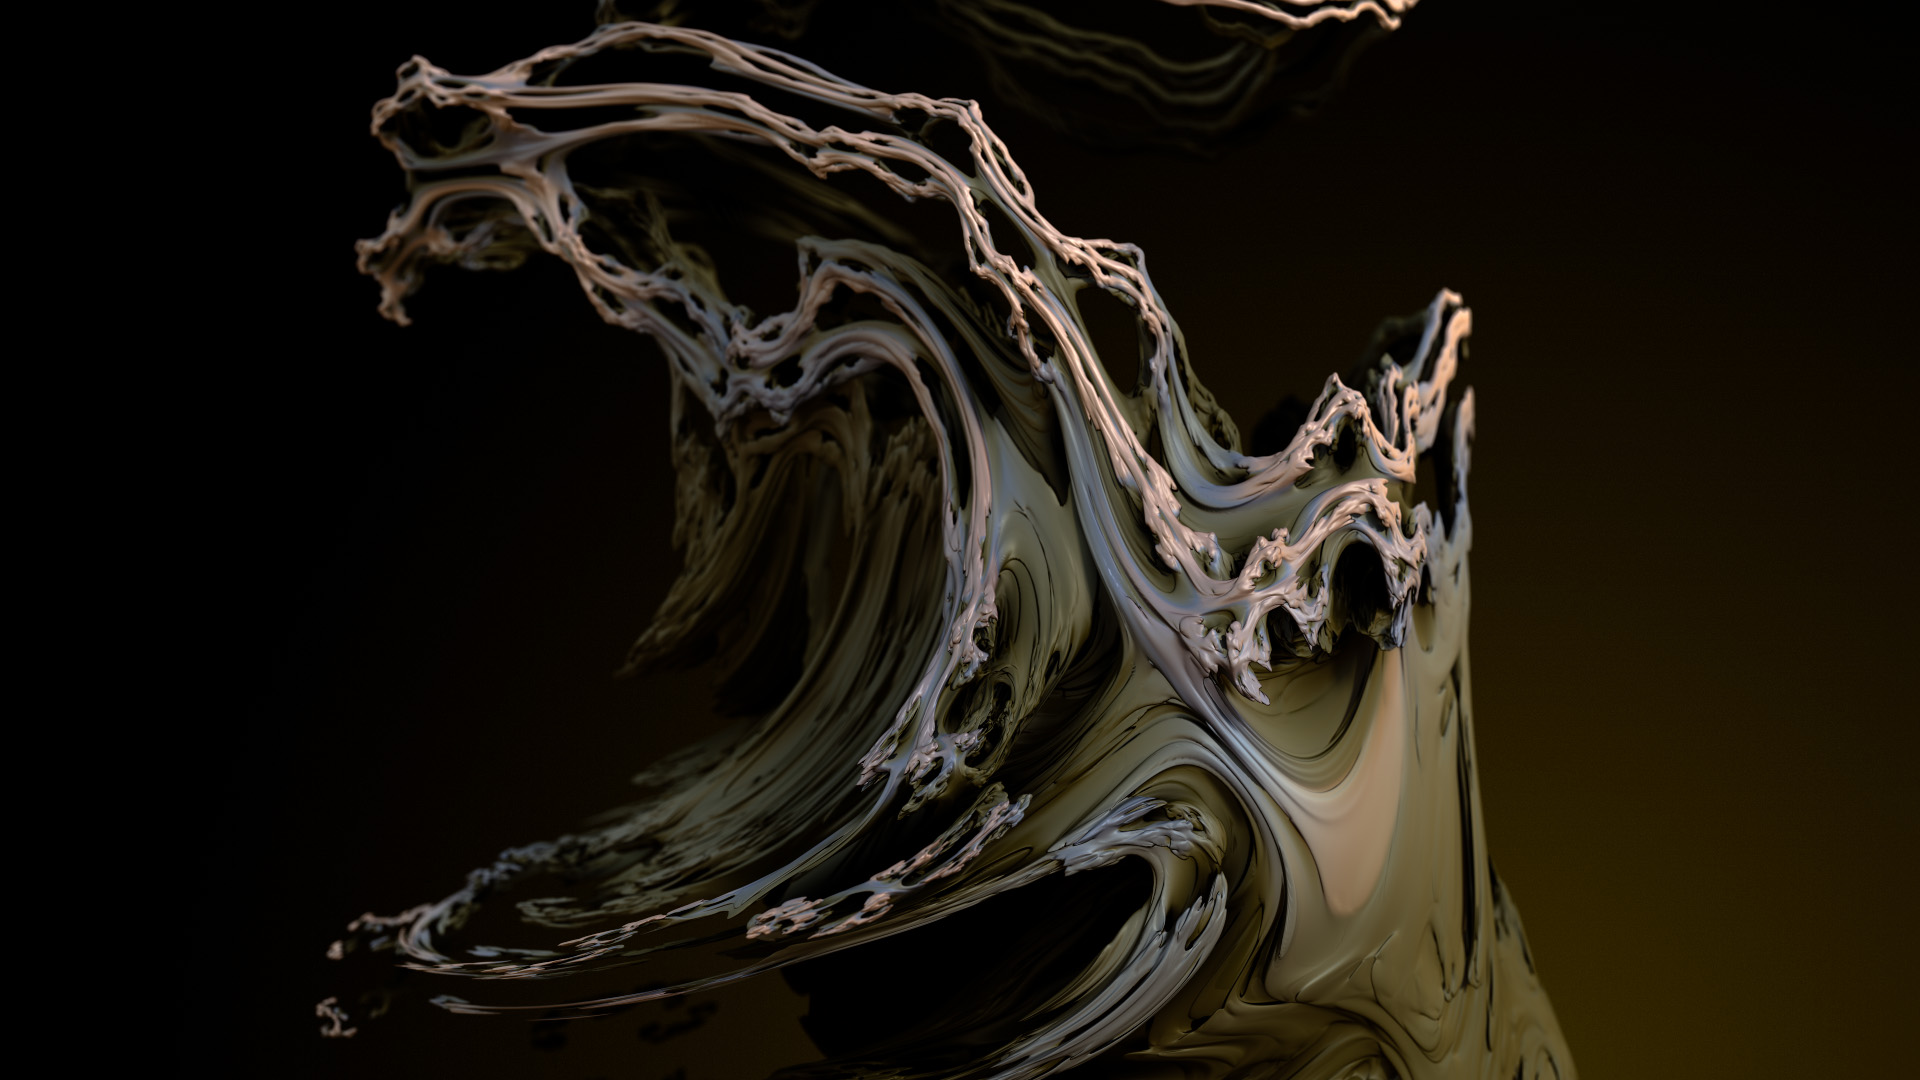
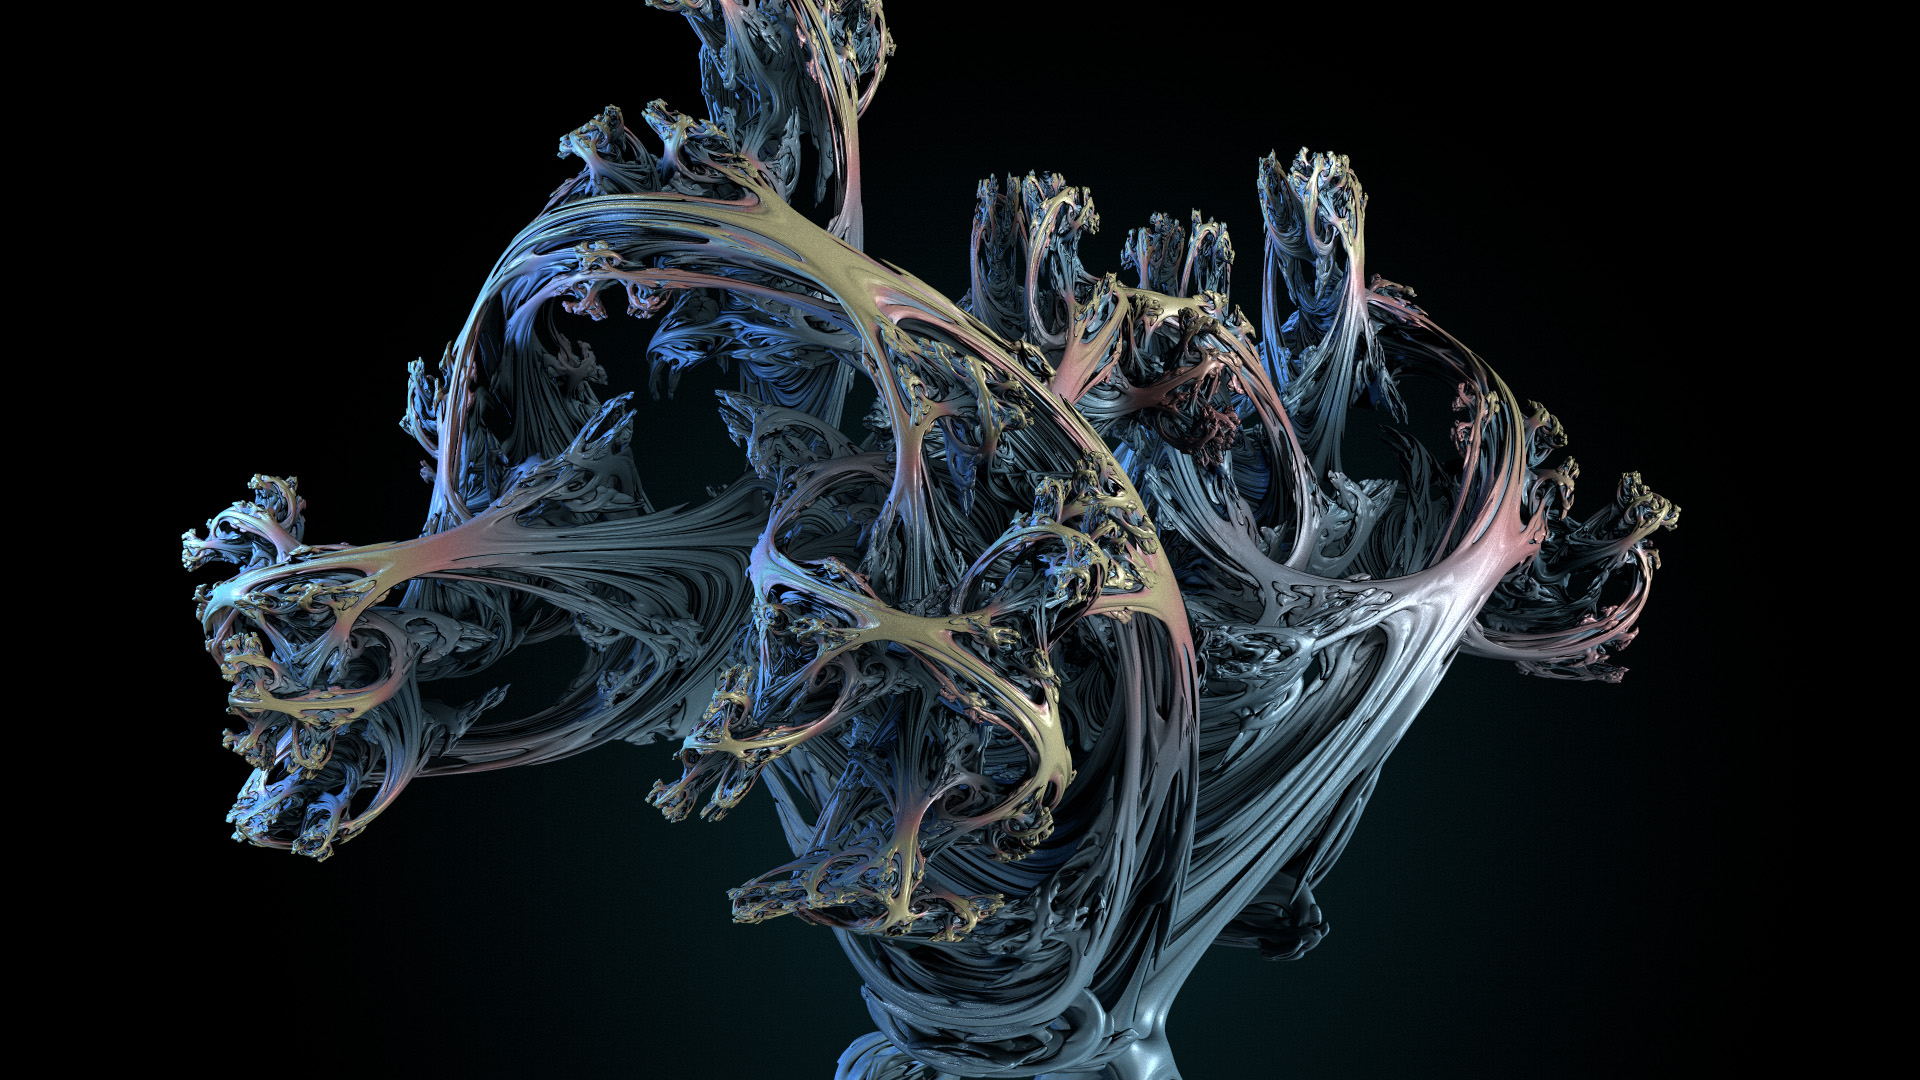
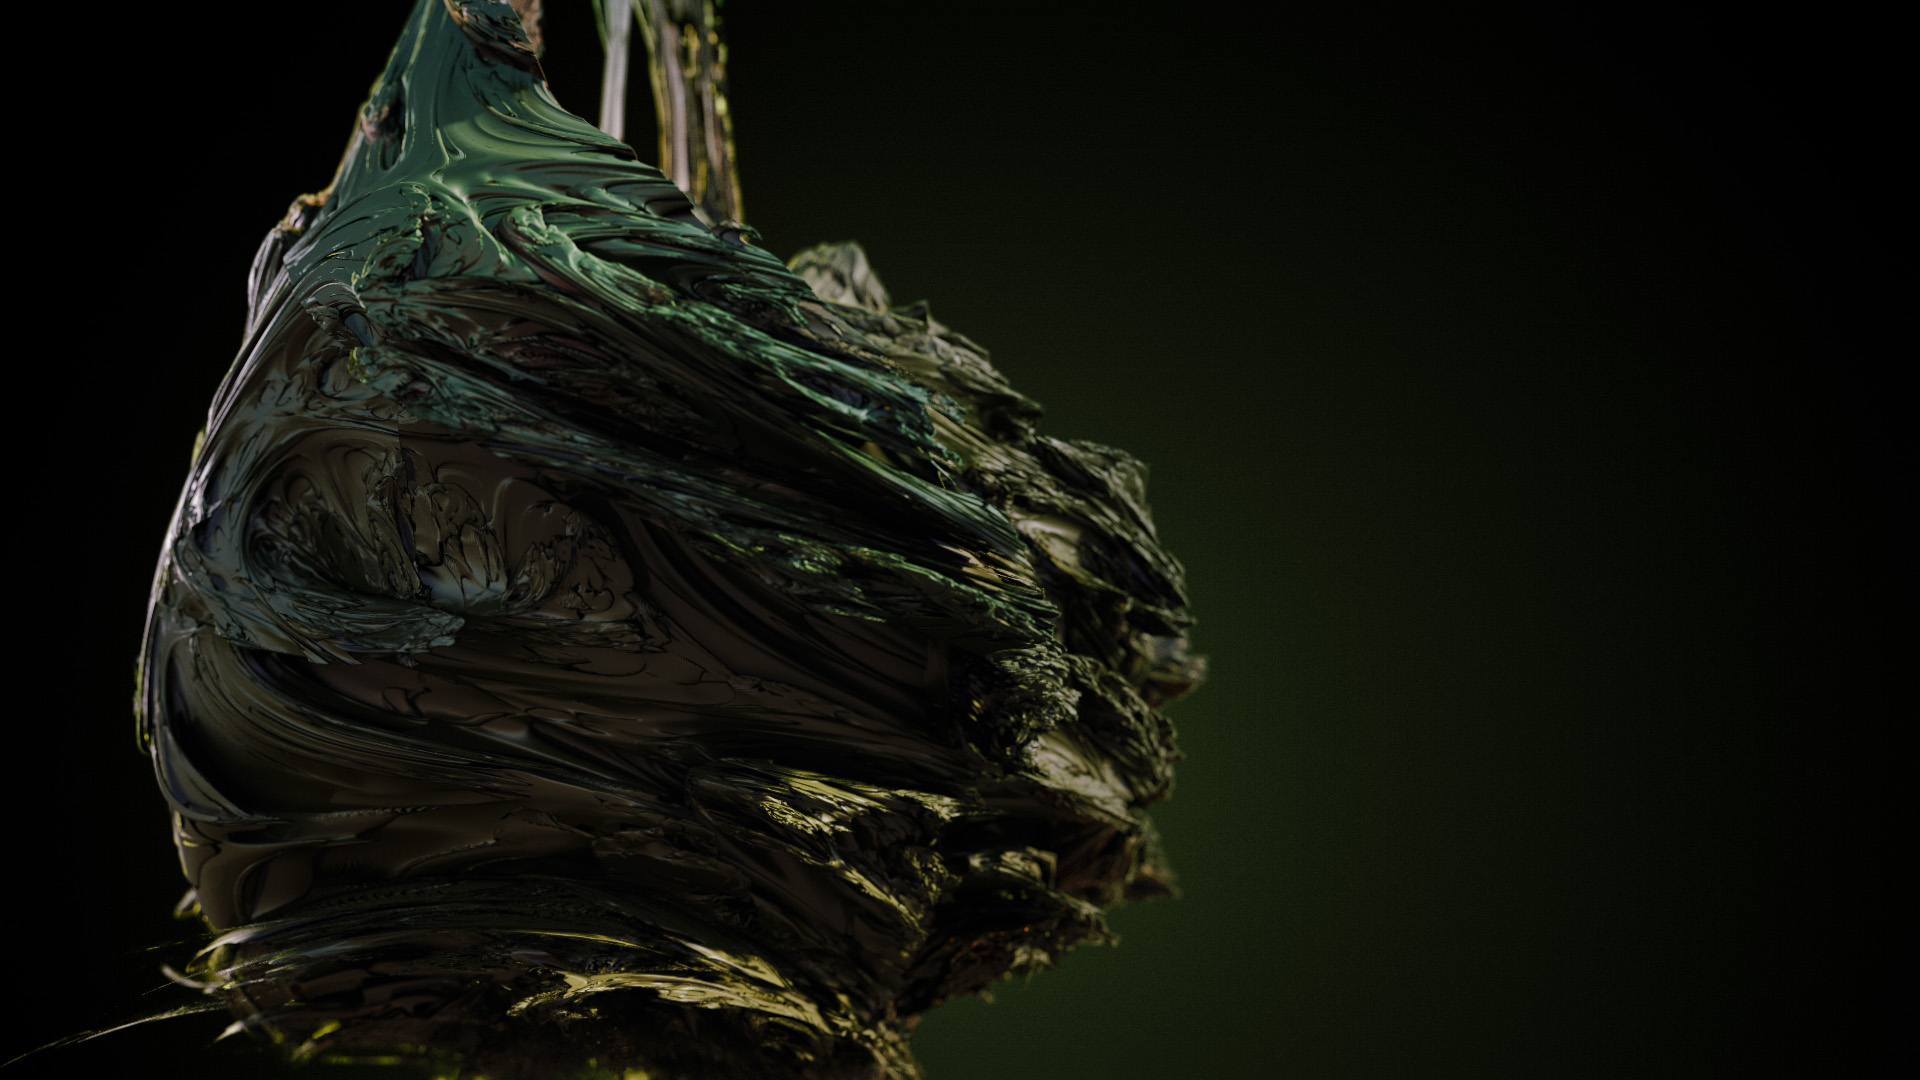
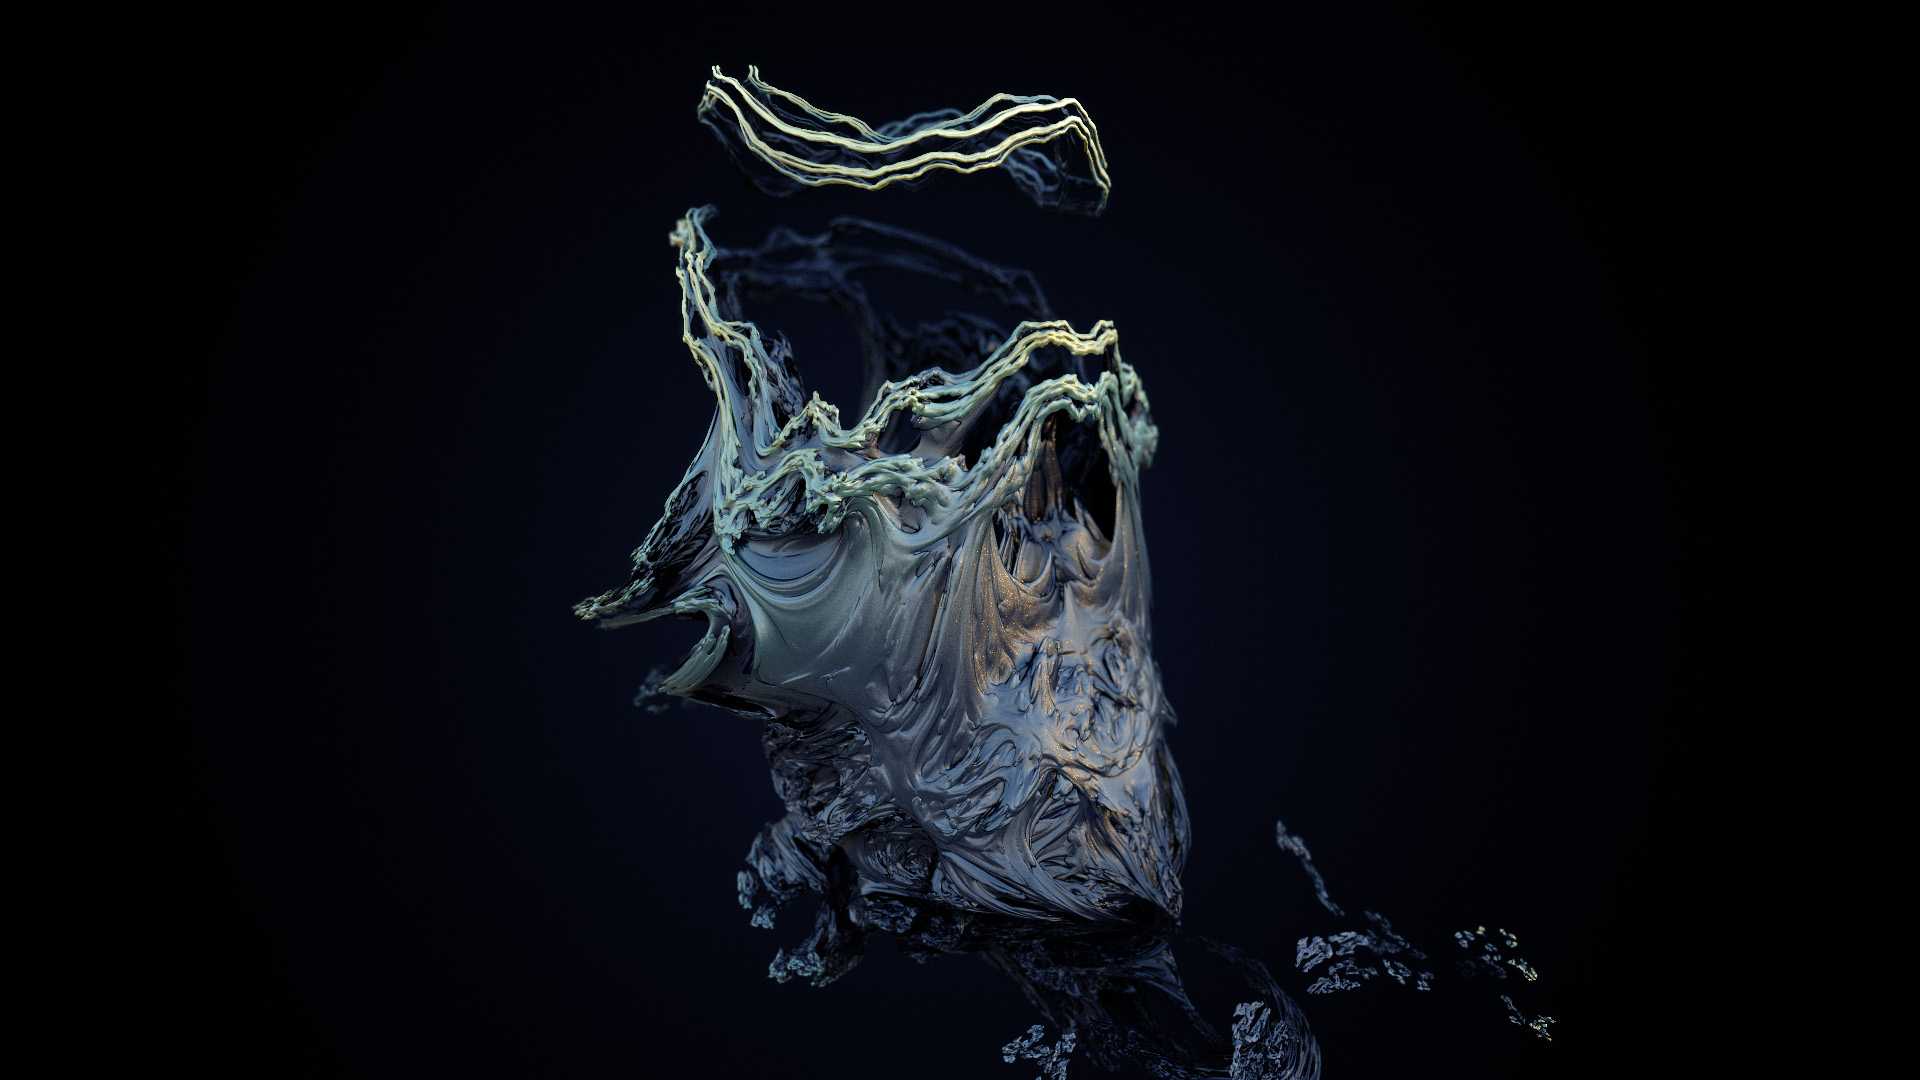
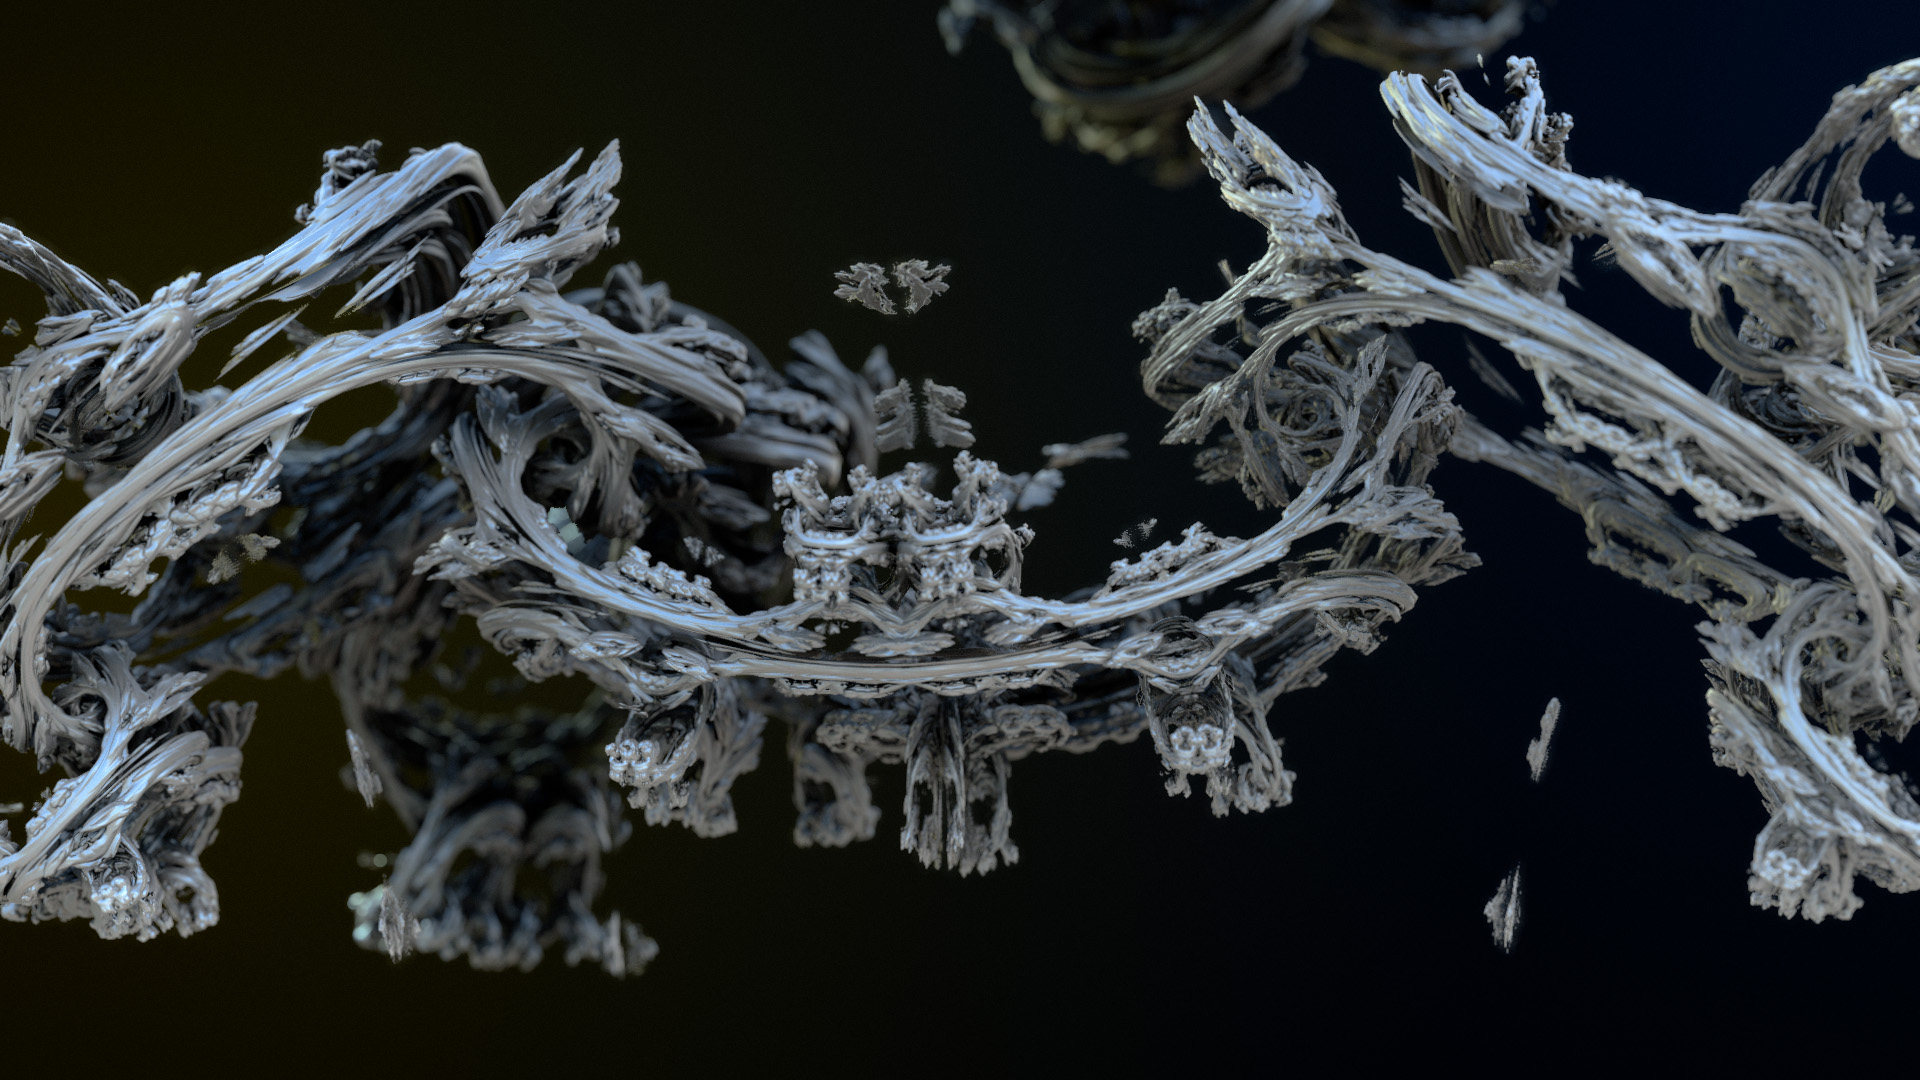
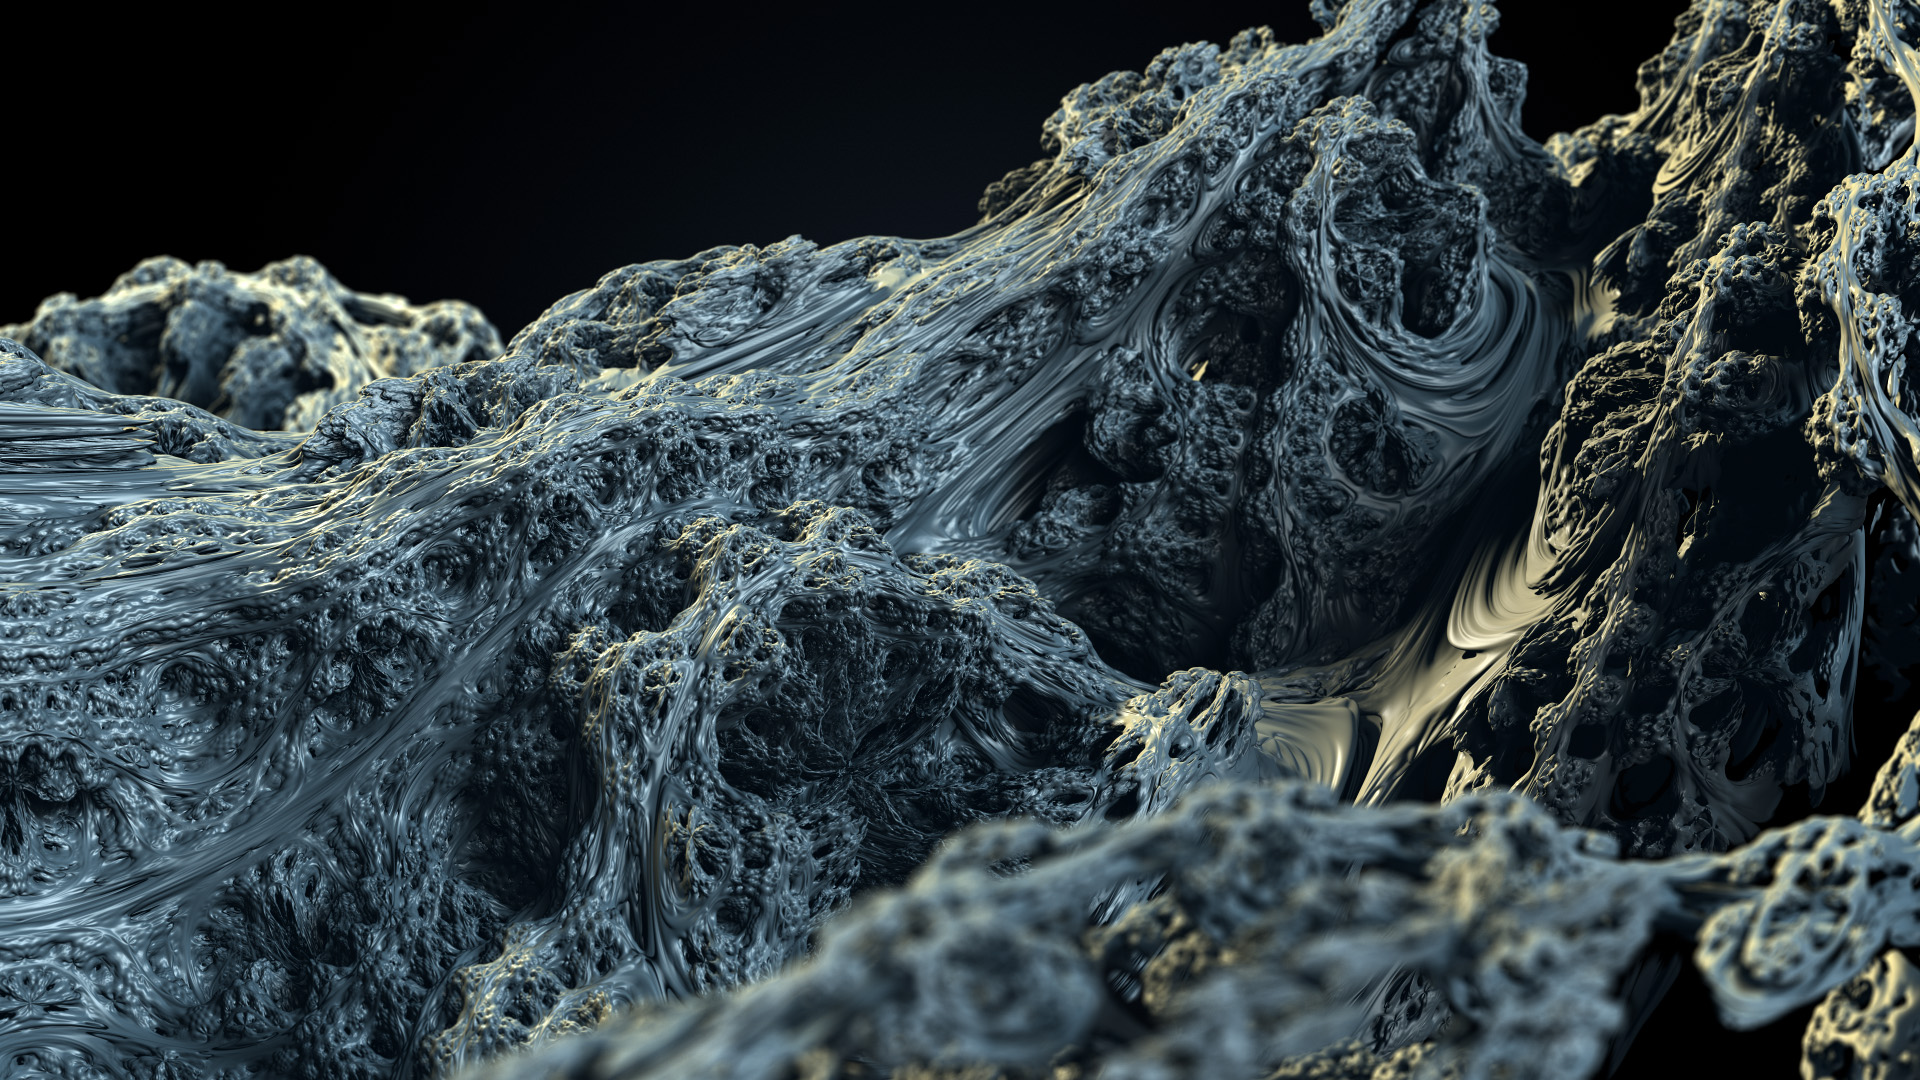
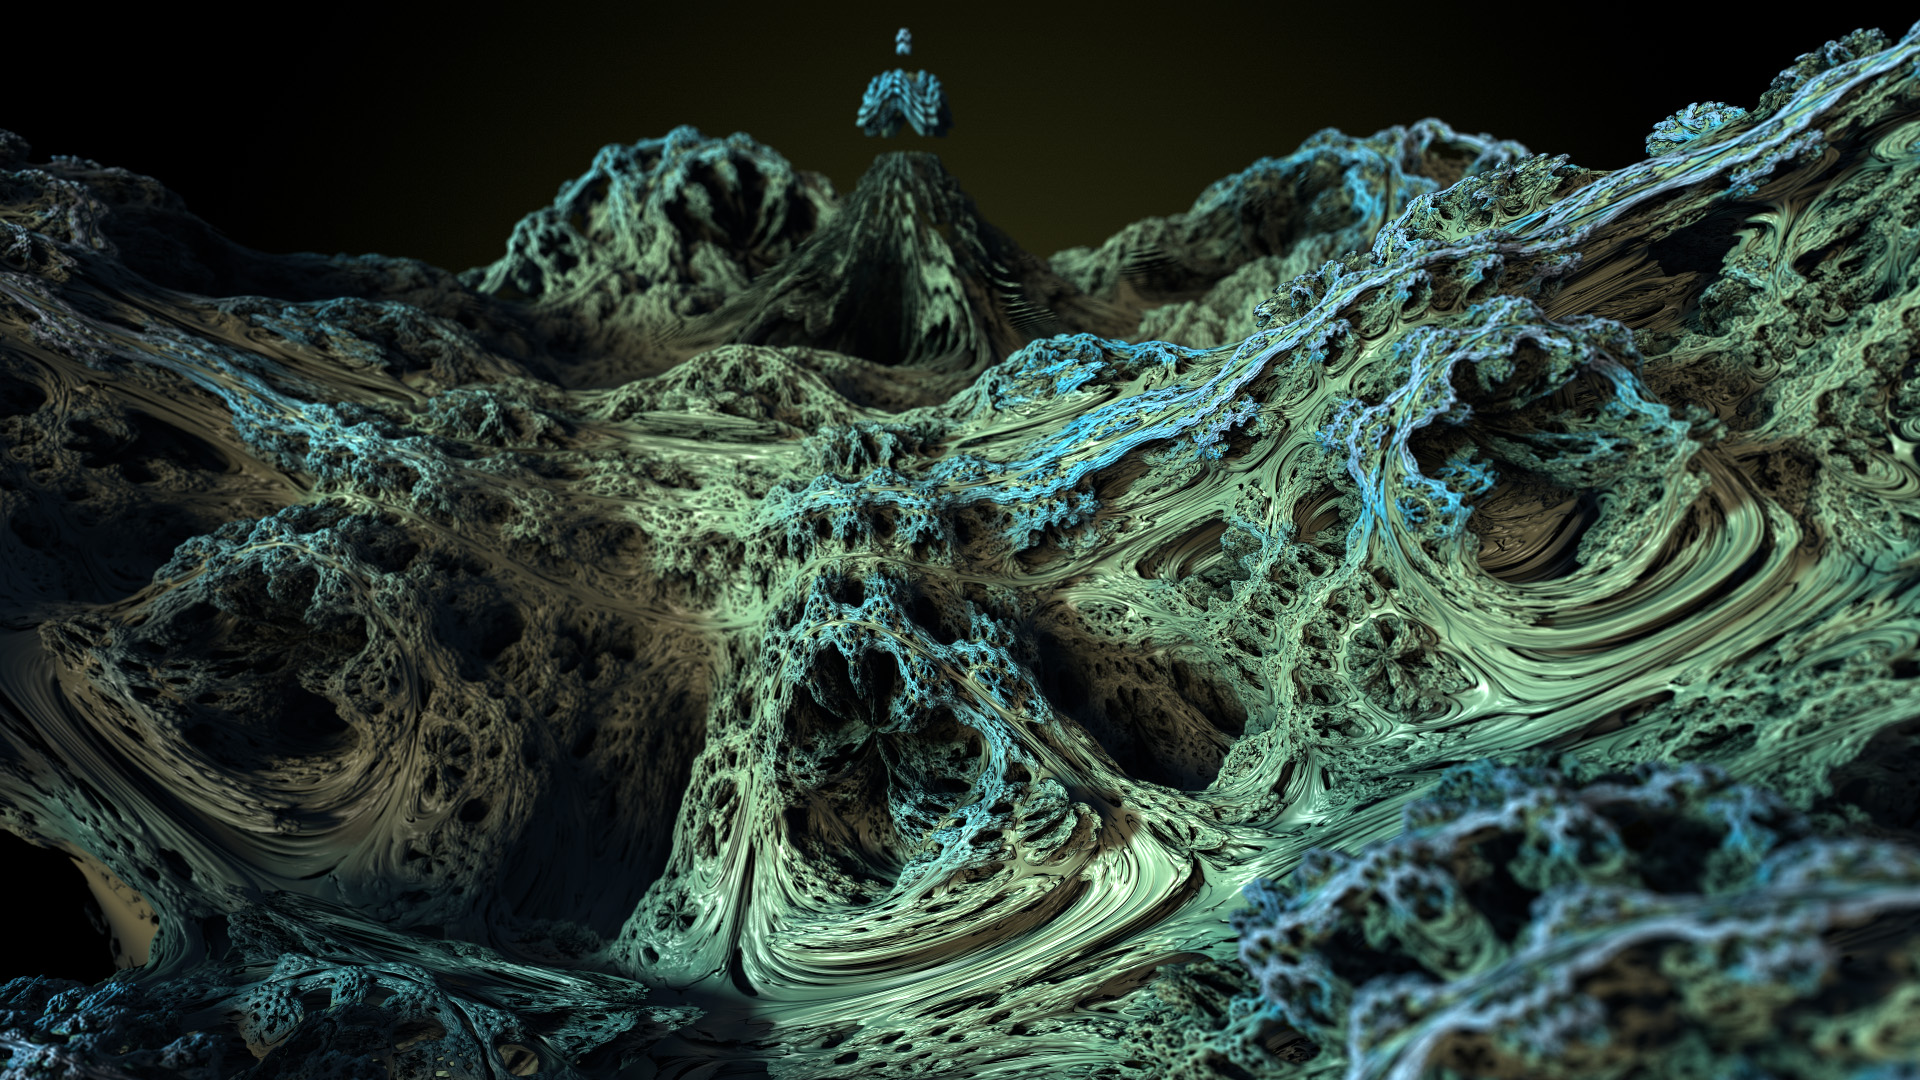
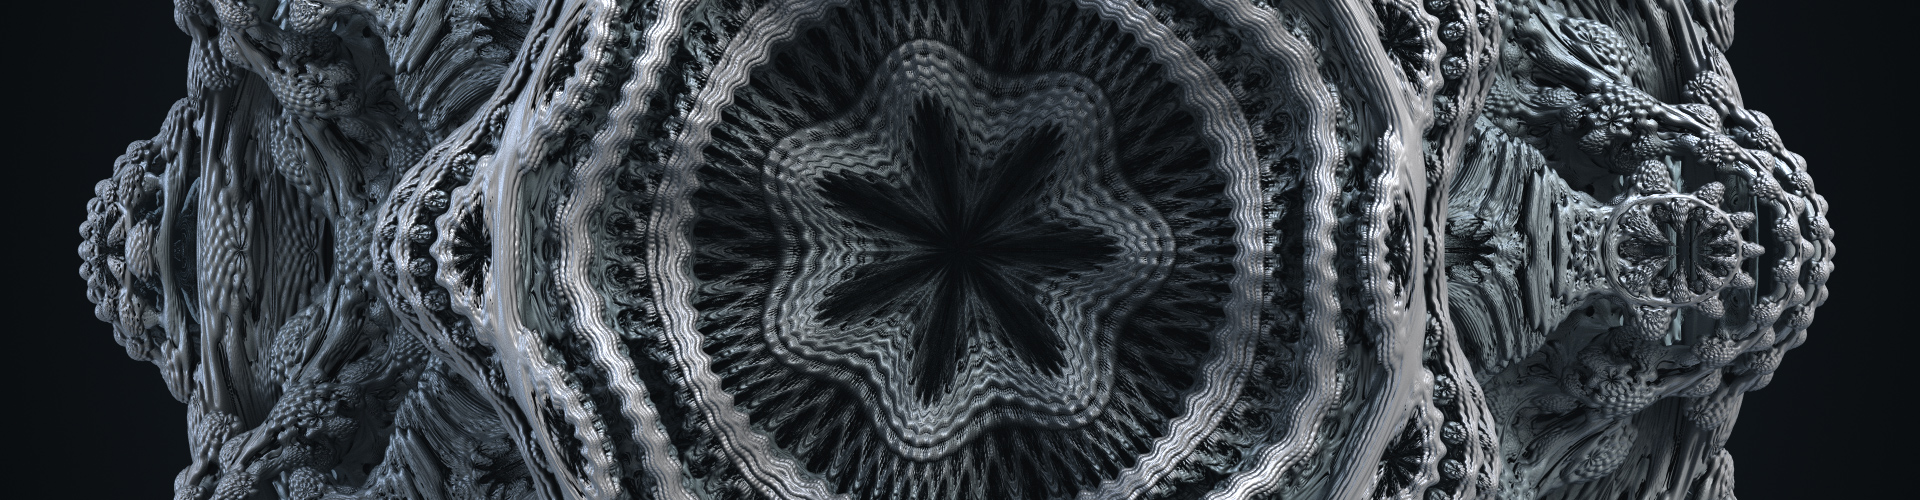
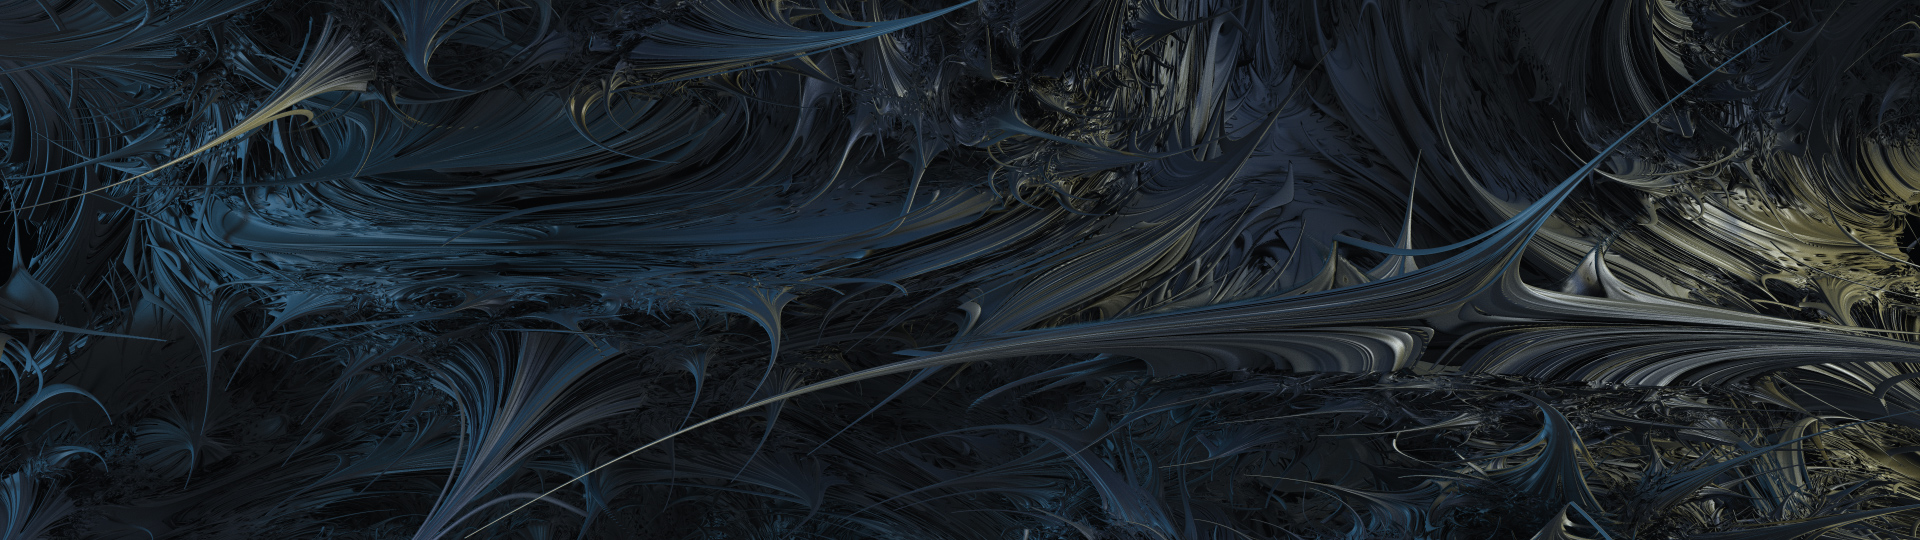
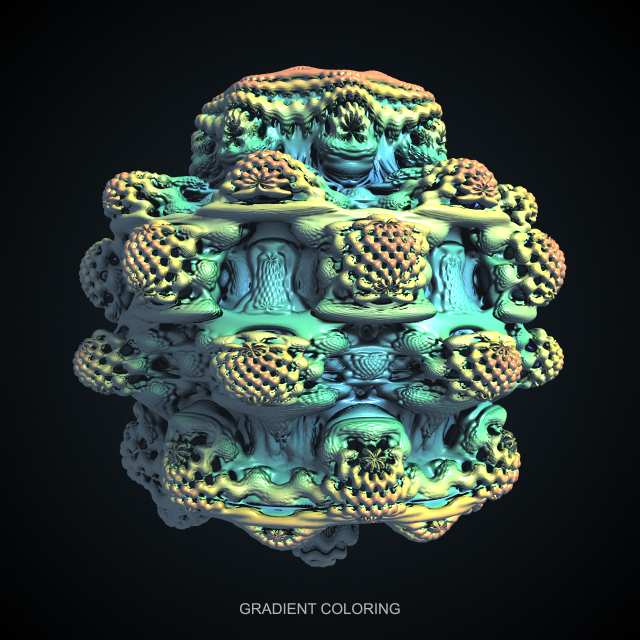
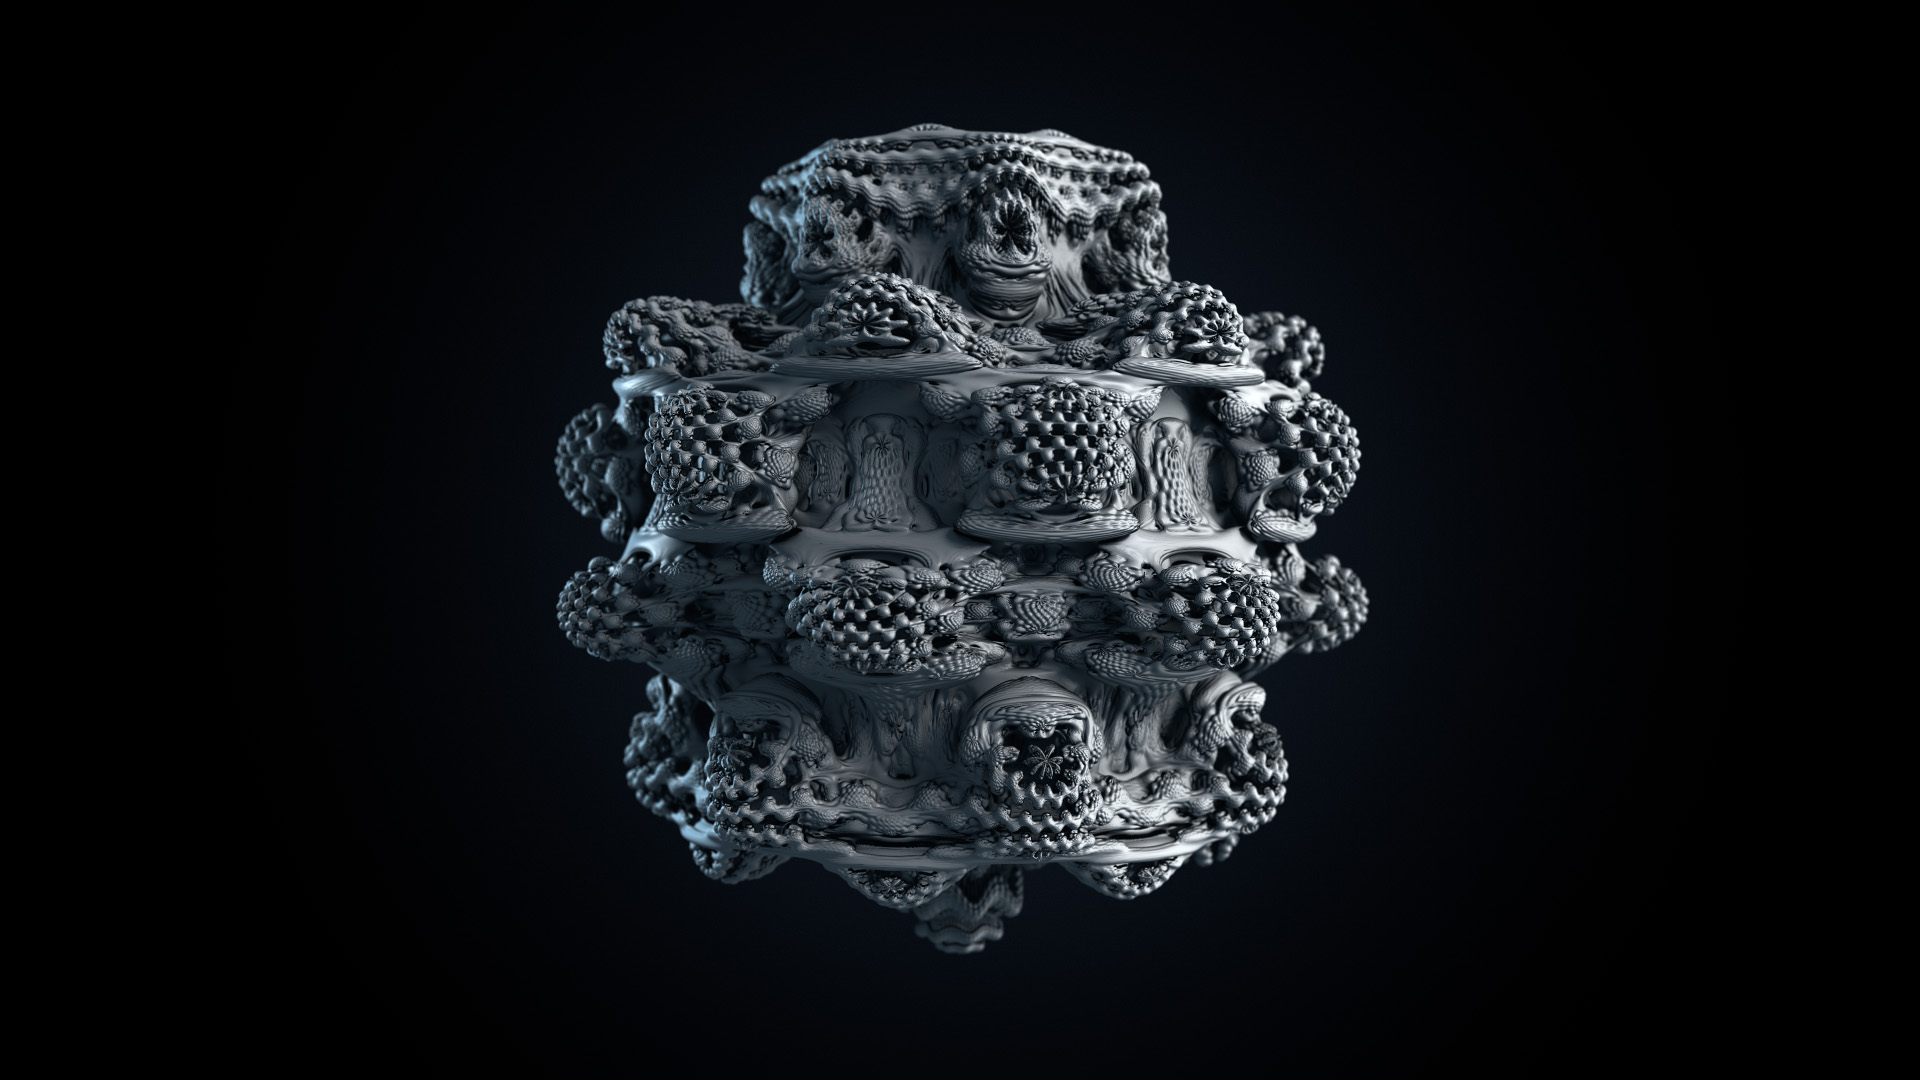
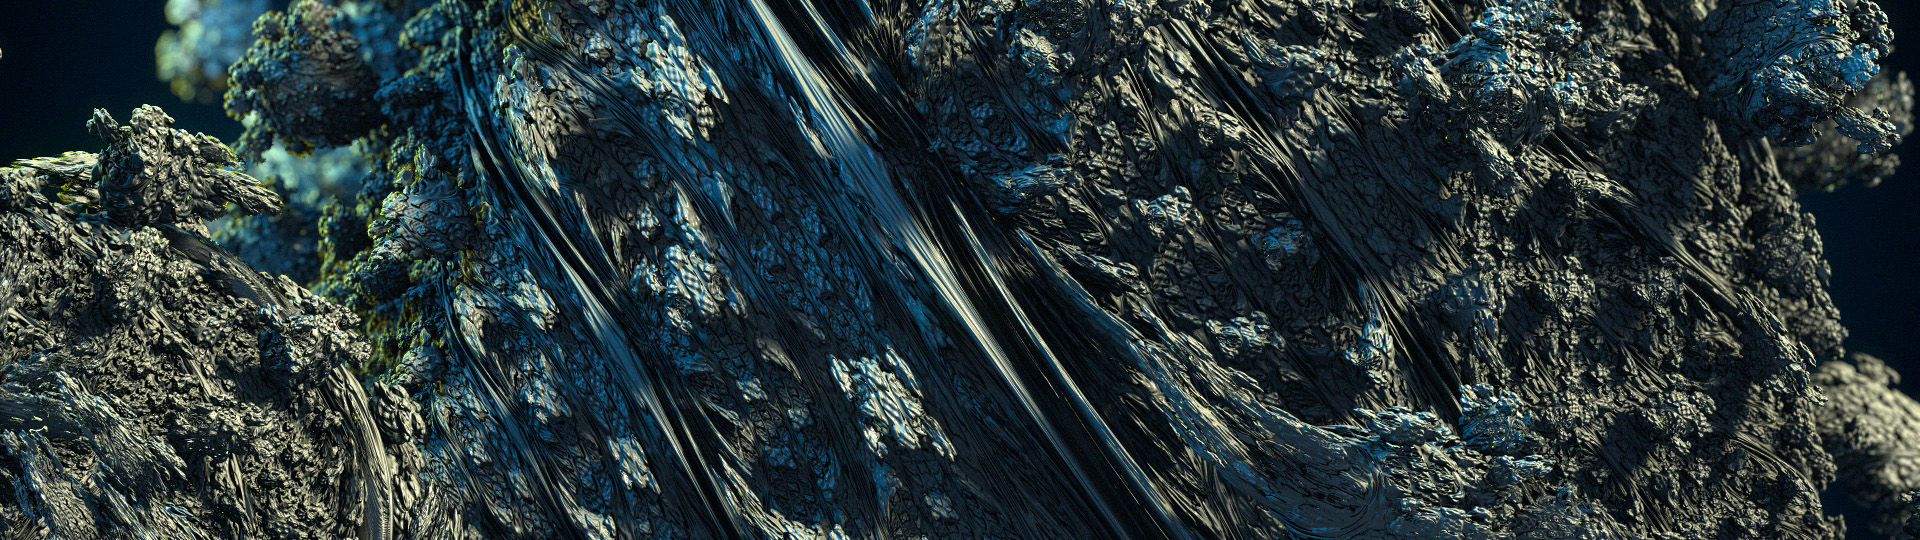
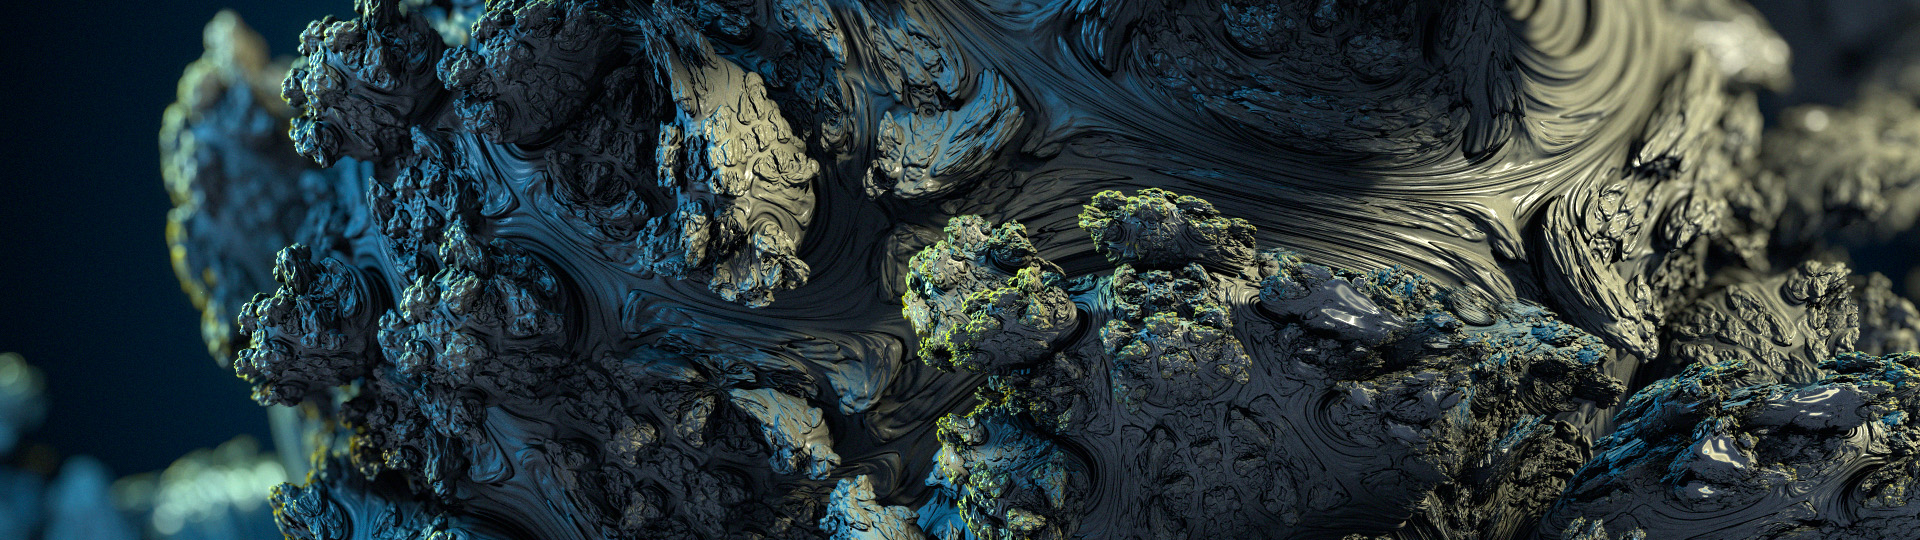
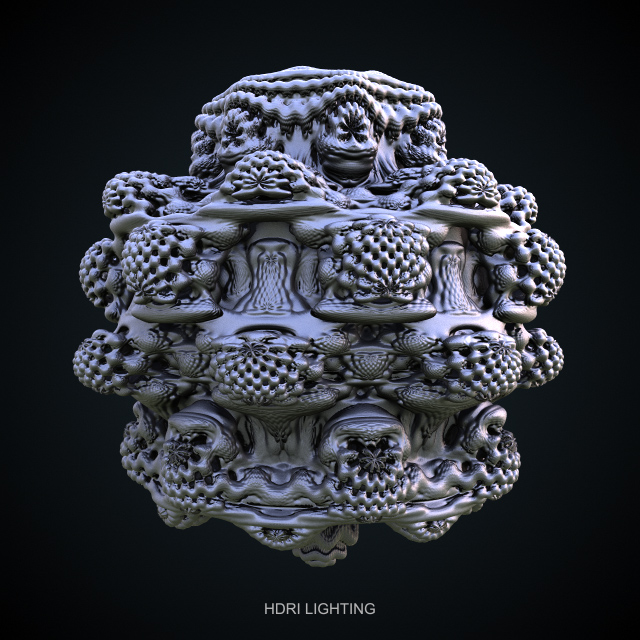
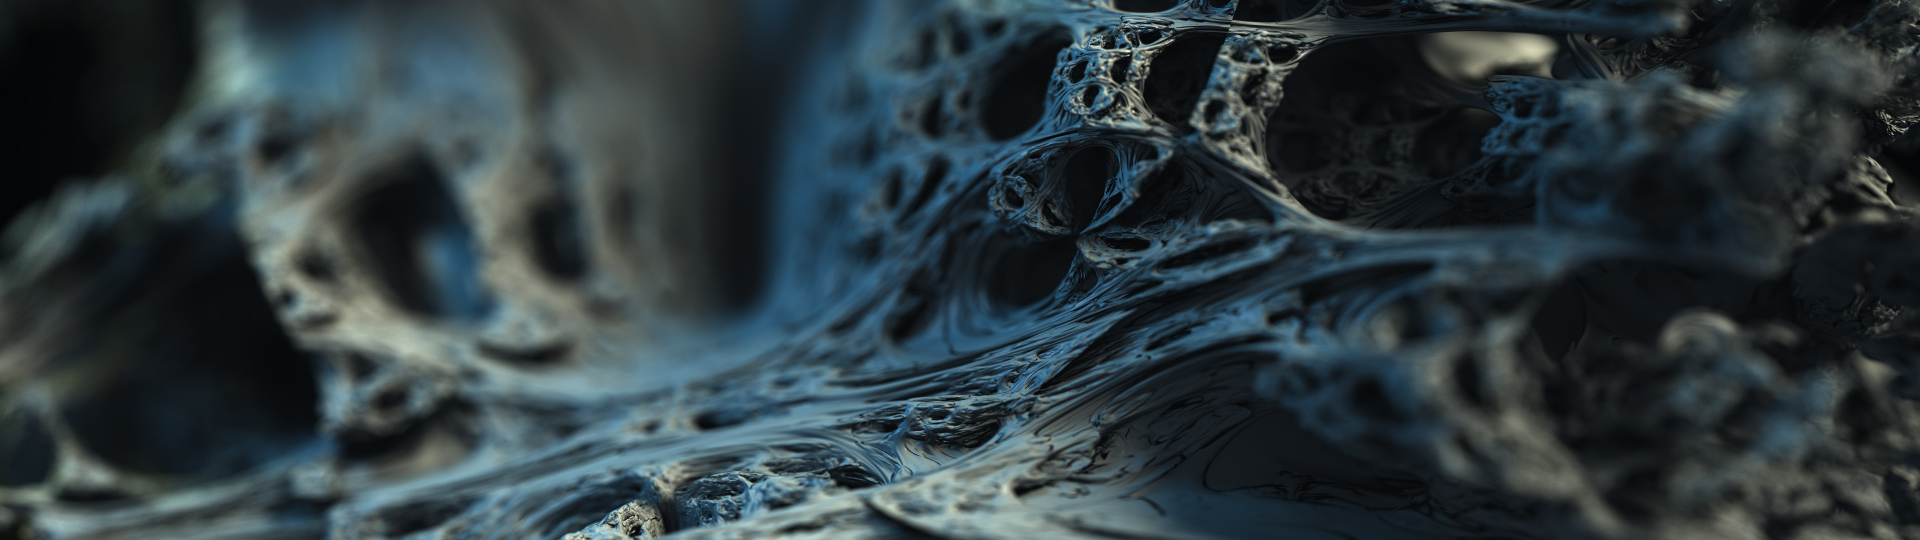
Mandelbulb is a powerful GPU-accelerated 3D fractal raymarching After Effects plugin. Aim your AE camera at a power-8 Mandelbulb, light it with your comp’s own lights, and get a ray-traced, motion-ready render – no export to a separate 3D app, no round trip, no waiting for someone else’s software to catch up to your idea.
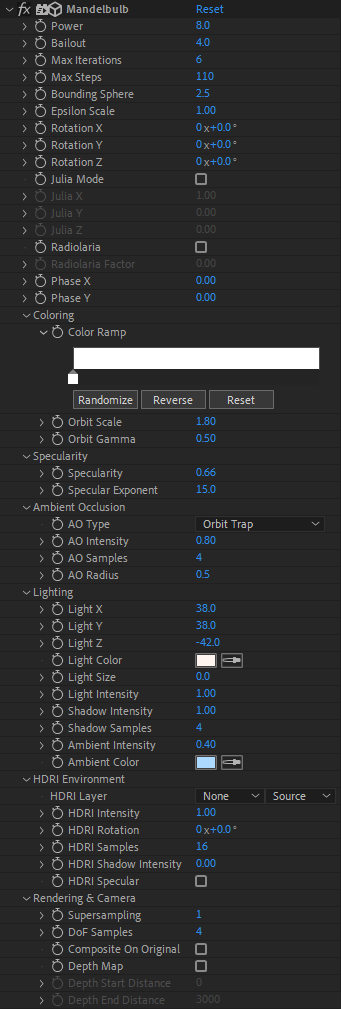
Mandelbulb GUI
Mandelbulb is fully integrated with After Effects and renders a real distance-estimated 3D surface, marched by rays from your actual After Effects camera, shaded by your actual After Effects lights, and rendered at full 32-bit depth on your GPU. Change the camera keyframe, the fractal turns with it. Move a light, the shadows move with it. All in a natively-compiled, blazing-fast After Effects plugin.
The fractal engine – one formula, an infinite geology of shapes
At its heart, Mandelbulb evaluates the classic power-8 Mandelbulb distance estimator. Push Power anywhere from −20 to 20 and watch the surface pass through spiky coral, folded bulbs, and impossible smooth geometry. Bailout, Max Iterations, Step Limit, Bounding Sphere, and Epsilon Scale give you direct control over how the ray marcher resolves fine detail against render time, so you can trade a rough preview for a razor-sharp final pass without touching a single light or material setting.
Flip on Julia Mode and the same engine renders the corresponding Julia-set variant, steered by three animatable offsets, for an entirely different family of forms. Flip on Radiolaria instead and the surface grows the perforated, shell-like structure of microscopic sea organisms, with its own factor to dial the effect in. Two further Phase parameters let you animate the underlying field itself, so a fractal can breathe, twist, and evolve across a shot rather than just sit there rotating on X, Y, and Z – which, naturally, it can also do.
Orbit-trap coloring – a gradient editor built for what fractals actually are
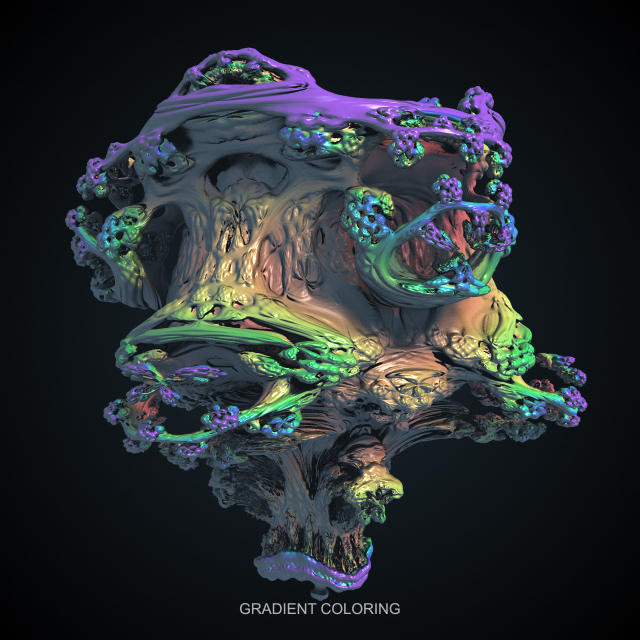
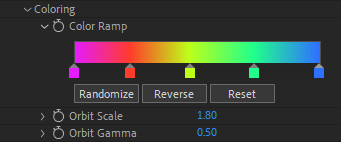
Instead of painting flat color onto a fractal surface, Mandelbulb colors it by structure. Every point on the surface carries an orbit-trap value – a record of how close the point iteration came to the origin while it was being computed – and that value drives a fully custom gradient ramp you edit right on the parameter row. Click the strip to drop a new stop, double-click a stop to open the After Effects color picker, drag a stop sideways to reposition it, and drag it down to remove it. A Randomize button gives you an instant saturated palette, a Reverse button mirrors it, and up to sixteen stops let you build gradients as simple or as intricate as the shot calls for.
Orbit Scale and Orbit Gamma tune how that structural depth maps onto your ramp – compress it for bold, graphic banding, or stretch it for the kind of soft, layered color you’d expect from real volumetric mineral structure. Because the ramp lives entirely on the parameter, it’s keyframeable and expression-friendly, so a color scheme can shift and pulse right alongside everything else in your composition.
Lighting – it reads your lights. Actual After Effects lights.
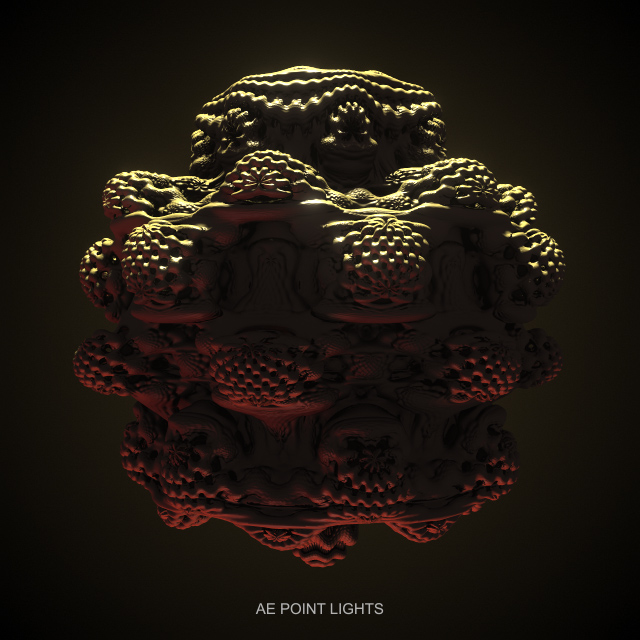
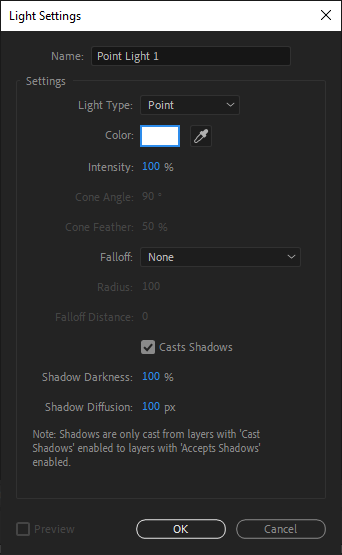
Mandelbulb ships with its own built-in default key light – position, color, intensity, physical Light Size for real, soft area shadows, combined with a dedicated shadow intensity and sample count, plus a separate ambient parameter with its own color and strength. That alone would cover most shots. But drop point lights into your composition, and Mandelbulb quietly picks up to eight of them straight from the comp: their position, their color, their intensity, whether they cast shadows, and even their shadow darkness and diffusion, are all read live from the layers you’re already animating, no re-entry, no duplicate rig. Light the fractal the same way you’d light anything else in the frame, with tools you already know.
Surface response is handled by a Phong shading model that’s always active, with its own Specularity and Specular Exponent controls for anything from a matte, chalky mineral look to a wet, glassy highlight.
Depth and grounding – ambient occlusion that understands the fractal, not just the pixels
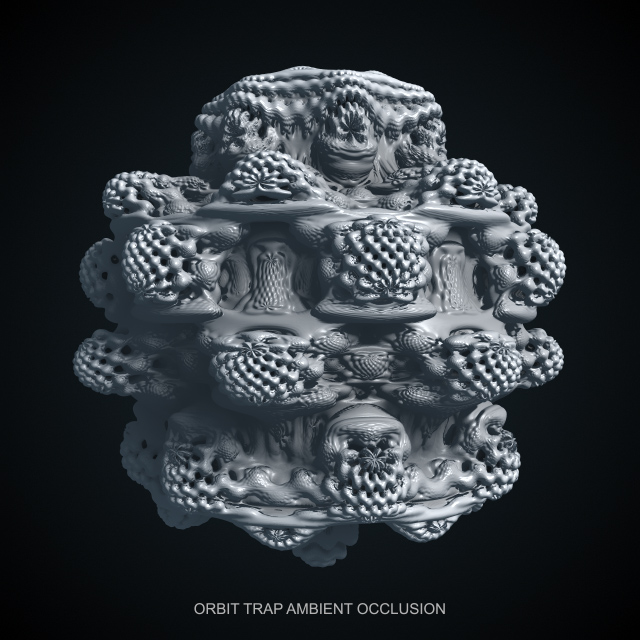
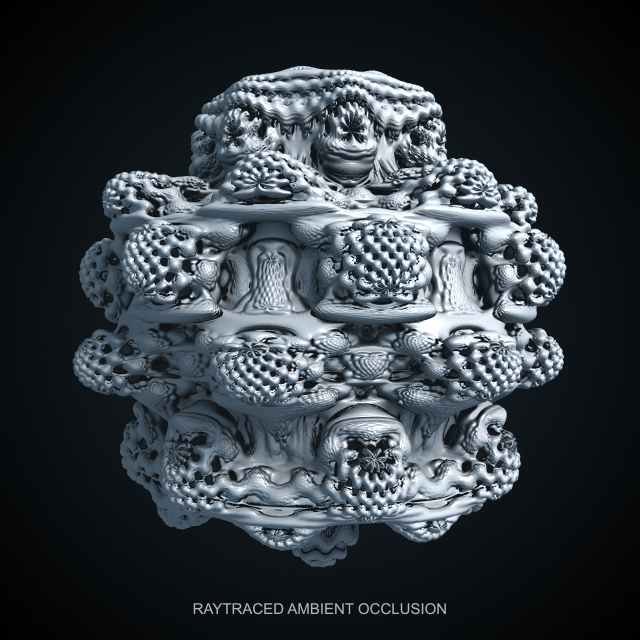
Two distinct ambient occlusion modes are built in. Orbit Trap Ambient Occlusion derives contact shadow from the same structural data that drives the coloring, so crevices and folds darken in a way that feels native to the geometry – and it’s essentially free in computations resulting in incredible performance. Raytraced Ambient Occlusion instead fires real hemisphere samples off the surface for physically grounded occlusion when accuracy matters more than speed, resulting in gorgeous fractal detail. Both share Intensity and Radius controls, and the raytraced mode exposes its own sample count, so you can push quality exactly as far as a given shot needs and not one render-hour further.
Environment – HDRI lighting from any layer in your project
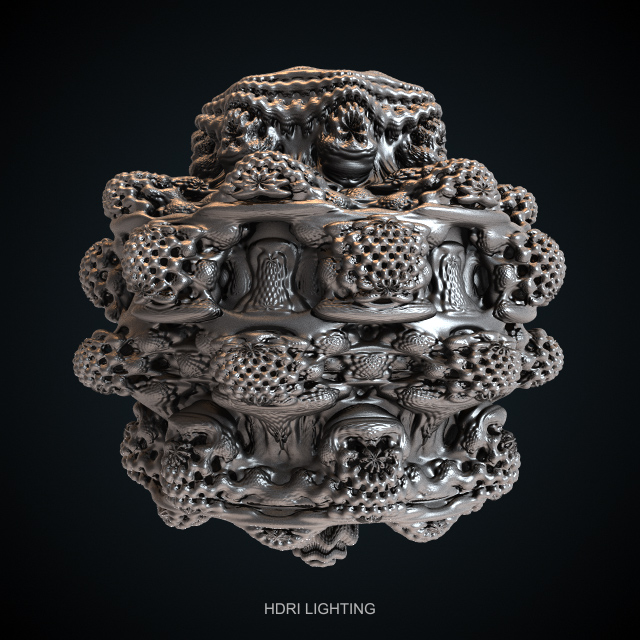
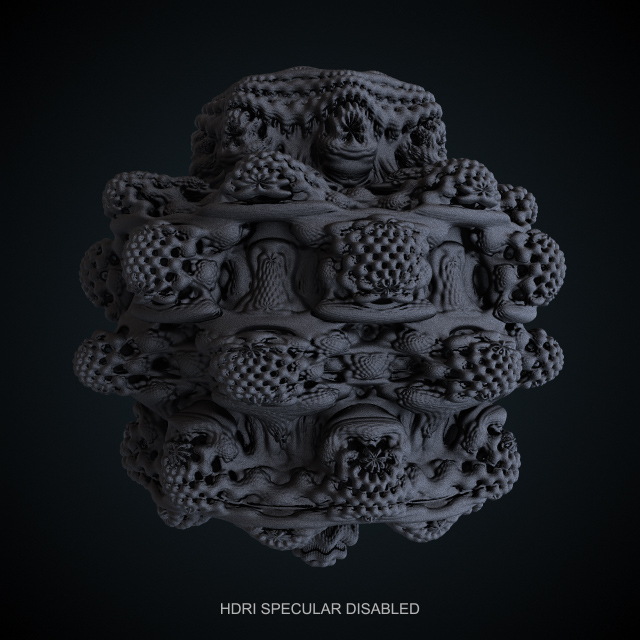
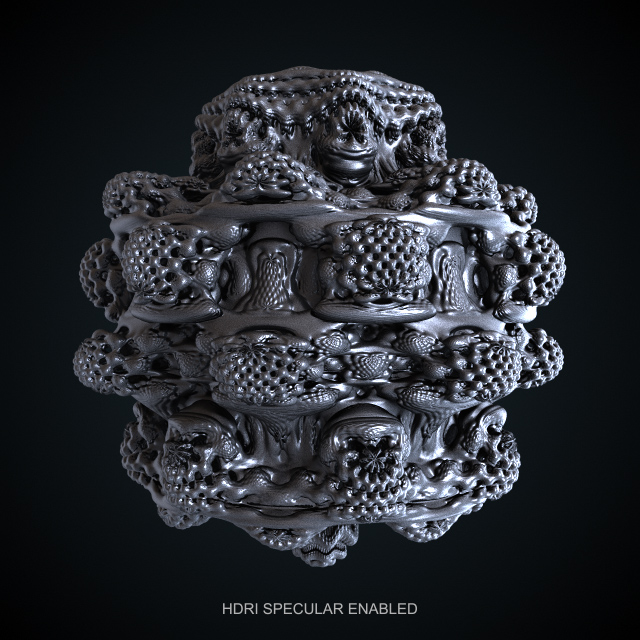
Assign any layer as an HDRI environment and Mandelbulb wraps the fractal in true image-based lighting pulled straight from it – no separate importer, no special file format, just a layer. HDRI Intensity and Rotation let you dial in exposure and spin the environment to catch the light where you want it, while HDRI Samples and a dedicated HDRI Shadow Intensity control how soft or how defined the environment’s occlusion reads. Turn on HDRI Specular when a shot calls for a Phong-lobe highlight pulled from the environment itself.
Camera – Fully raytraced depth of field with flexible control
Mandelbulb reads your composition’s active 3D camera directly, including position, orientation, and field of view, so the fractal sits correctly in your scene the moment you add the effect, camera moves and all. When you want depth of field, it’s driven by that same camera’s focus distance, with its own dedicated sample count for the smoothness of the blur. Supersampling gives you industry-standardized anti-aliasing control for cleaning up edges before final output.
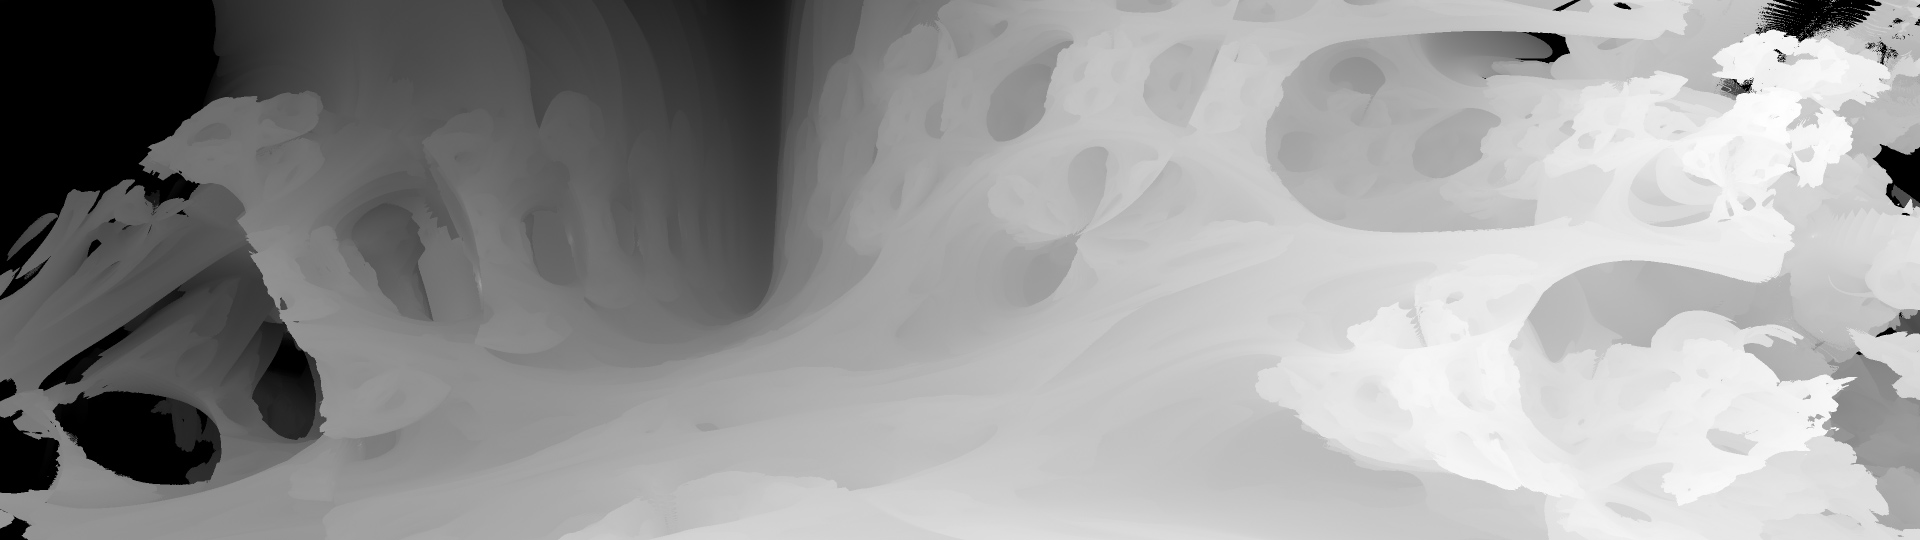
Composite On Original blends the render directly over your source footage in a single step, when the fractal is meant to sit inside a shot rather than stand alone on transparency. And a dedicated Depth Map mode swaps out all shading, including lighting, shadows, AO, and HDRI, for a clean, normalized camera-space depth pass, with adjustable start and end distances, ready to drive an external depth-of-field plugin such as DOF PRO.
Under the hood – fast enough to iterate on, precise enough to finish on
Every frame is a full ray march through a distance-estimated field, which is exactly the kind of workload a GPU was built for – so Mandelbulb renders through native CUDA and OpenCL kernels, with a CPU path standing by at 8-bit, 16-bit, and 32-bit float for machines and situations where the GPU isn’t in the picture. The more powerful the GPU, the faster the render. It plugs into After Effects’ Smart Render pipeline end to end, so preview scrubbing, multi-frame rendering, and GPU device switching all behave the way you expect from a well-built native effect, not a bolted-on script.
A free demo is available so you can put Mandelbulb through its paces on your own footage before you buy.
Mandelbulb supports both 8 bits / channel, 16 bits / channel and 32 bits / channel color modes for professional workflows.
Mandelbulb is 100% multi-threaded capable of using an unlimited number of cores for ultimate speed.
Mandelbulb is GPU accelerated for ultimate speed.
Mandelbulb is 100% Multi-Frame Rendering (MFR) capable for significant speed gains.
Workflow
Mandelbulb is a full 3D ray-traced fractal renderer built directly into After Effects. Here’s a simple step-by-step outline to get you started:
1. Create a new composition.2. Create a new solid and apply the Mandelbulb effect to it.
3. Add a 3D camera to your composition. Mandelbulb reads your comp's active camera directly, so moving, animating, or racking focus on the camera moves and refocuses the fractal along with it. If no camera is present, Mandelbulb frames the fractal using the comp's own dimensions.
4. Shape the fractal using the Power, Iterations, and Step Limit parameters until you have a form you like
5. Open the Color Ramp and build a gradient for the surface.
6. Light the scene. Adjust the built-in key light, or simply drop point lights into your composition - Mandelbulb will read them automatically.
7. Optionally, assign a footage or image layer to HDRI Layer for environment lighting and reflections.
8. Once you're happy with the look, raise Supersampling for your final render.
Mandelbulb renders through native CUDA and OpenCL kernels when a supported GPU is available, and falls back to a CPU path at 8-bit, 16-bit, or 32-bit float otherwise. Iteration and sample-heavy parameters (Max Iterations, Step Limit, AO Samples, Shadow Samples, HDRI Samples, DoF Samples, Supersampling) are the main drivers of render time. It’s normal to work with these low while you’re positioning the camera and shaping the fractal, then raise them for your final pass. A modern Nvidia GPU will provide significant performance gains over older GPUs and CPUs.
Mandelbulb performs some extremely complex sampling calculations. As with any 3D renderer that relies on Monte-Carlo sampling, the more samples that are introduced will result in a cleaner image. A fast GPU will make a huge difference across performance.
Point lights are read live from your composition. Any AE light layer set to type Point, up to eight of them, will automatically illuminate the fractal using that layer’s position, color, intensity, and shadow settings – there’s no separate light rig to set up inside the effect.
Due to After Effects’ internal structure, it is unfortunately impossible to interrupt a mid-frame render. Therefore, use caution when setting high sampling values as you may experience delays in After Effects’ responsiveness.
Motion blur is not natively supported, however it can be applied using After Effects’ included plugin called Pixel Motion Blur.
Fractal Shape
This group of parameters controls the underlying mathematics of the fractal surface itself – the formula being ray marched, and how precisely it’s resolved. The parameters are named according to industry standards so entering the values found on another fractal elsewhere will render the exact same result here.
Power: Sets the exponent used in the Mandelbulb formula, from −20 to 20. The classic Mandelbulb sits at 8. Lower powers produce softer, rounder, more bulbous forms; higher powers produce sharper, more coral-like and thorned detail. Creative Use-Case: Animate Power slowly across a shot to make the fractal appear to organically grow or mutate from one form into another.
Bailout: The distance threshold at which a point’s iteration is considered to have escaped, from 0.5 to 12.0. Lower values can thin out and simplify fine surface detail; higher values generally preserve more of it. Most scenes won’t need to move this far from its default.
Max Iterations: How many times the fractal formula is evaluated per sample point, from 1 to 20. Higher values resolve deeper, more intricate surface structure, at a direct cost to render time. Creative Use-Case: Keep this low (2–3) while scrubbing the timeline to position your camera, then raise it to 6 or higher for your final render.
Max Steps: The maximum number of ray-marching steps allowed per pixel before the ray gives up, from 10 to 200. If you see dark or incomplete patches on parts of the fractal surface, particularly at close range, raising this usually resolves it.
Bounding Sphere: The radius of the sphere used to cull rays before they begin marching toward the fractal, from 1.0 to 16.0. This should comfortably contain the fractal at whatever Power you’re using — set it too small and parts of the fractal will be clipped off.
Epsilon Scale: Scales the surface-hit tolerance used by the ray marcher, from 0.1 to 1.0. Lower values demand a more precise surface hit before a ray is considered to have struck the fractal, which can sharpen fine detail at some cost to speed.
Rotation X / Rotation Y / Rotation Z: Rotates the fractal object around each axis. Creative Use-Case: Animate all three together for a slow tumbling rotation, or keyframe just one to spin the fractal in place like a planet.
Julia Mode: A checkbox that switches the renderer from the standard Mandelbulb formula to its Julia-set counterpart, producing a related but structurally different family of shapes. Enabling this activates the three Julia offset parameters below.
Julia X / Julia Y / Julia Z: The constant offset used by the Julia-set formula when Julia Mode is enabled. Small changes here can produce dramatically different Julia forms. Creative Use-Case: Keyframe these three values while Julia Mode is on to morph continuously between distinct Julia shapes over the course of a shot.
Radiolaria: A checkbox that transforms the fractal surface into a perforated, shell-like structure resembling microscopic marine organisms. Enabling this activates the Radiolaria Factor parameter below.
Radiolaria Factor: Controls the strength of the Radiolaria effect, from −4.0 to 4.0, once Radiolaria is enabled. Creative Use-Case: Radiolaria plus a cool blue-and-white color ramp is a fast way to art-direct an organic, coral-reef or deep-sea look.
Phase X / Phase Y: Animatable offsets that shift the underlying fractal field itself, independent of rotation. Creative Use-Case: Slowly animating Phase X over a long, slow hero shot gives the fractal a subtle, continuous internal evolution — the surface seems to shift and breathe even while the camera holds still.
Coloring
This group controls how the fractal’s surface is colored, based on its internal structure rather than a flat material color. Mandelbulb provides a custom parameter for flexible coloring options. The default is with a single color but many additional colors can be added to create custom coloring gradients.
Color Ramp: A custom gradient editor drawn directly into the parameter row. Click anywhere on the strip to insert a new color stop; double-click an existing stop to open the After Effects color picker for it; drag a stop left or right to reposition it; drag a stop downward to delete it (a minimum of one stop is always kept). A Randomize button generates a new saturated palette at the existing stop positions, and a Reverse button mirrors the whole gradient. The ramp supports up to sixteen stops and is fully keyframeable. Creative Use-Case: Keyframe the ramp itself between two very different palettes – say, a cold blue-violet and a hot ember-orange – to have the fractal’s material appear to change entirely over the course of a shot.
Coloring GUI
Orbit Scale: Controls how the fractal’s internal structural data (how close each point came to the origin during iteration) is normalized before it’s mapped onto the Color Ramp, from 0.01 to 10.0. Lower values compress more of the ramp into the surface detail near the fractal’s core; higher values spread the ramp out toward the outer structure.
Orbit Gamma: Applies a power curve to that same structural value before it hits the ramp, from 0.1 to 10.0. Values below 1 brighten and lift detail out of the shadows and crevices; values above 1 push more of the surface toward the darker end of the ramp. Creative Use-Case: Lower Orbit Gamma when you want to pull extra color detail out of deep folds that would otherwise read as flat and dark.
Specularity
This group controls the shininess of the fractal, including it’s intensity and spread.
Specularity: Controls the strength of the surface’s specular highlight, from 0.0 to 1.0. At 0, the surface reads as fully matte; higher values introduce a bright highlight where light reflects directly toward the camera.
Specular Exponent: Controls the tightness of that highlight, from 0.1 to 50.0. Low values spread the highlight into a broad, soft sheen appropriate for something like chalk or unglazed stone; high values compress it into a small, sharp glint appropriate for polished or wet surfaces.
Ambient Occlusion
This group darkens the fractal in areas where its own geometry would naturally block ambient light, such as inside deep folds and crevices, adding a sense of solidity and contact. This is called Ambient Occlusion or ‘AO’ for short.
AO Type: A dropdown choosing between two occlusion methods. Orbit Trap derives occlusion from the same structural data used for coloring, and is effectively free to compute. Raytraced fires real hemisphere samples from the surface for more physically accurate results, at a higher render cost.
AO Intensity: Controls the overall strength of the occlusion darkening, from 0.0 to 1.0.
AO Samples: The number of hemisphere samples used when AO Type is set to Raytraced, from 1 to 256. Higher values produce smoother, less noisy occlusion at the cost of render time. This parameter has a different effect in Orbit Trap mode: it controls the falloff between the dark areas and light areas.
AO Radius: The distance over which occlusion is sampled, from 0.0 to 5.0. Larger radii pick up shadowing from more distant surface features; smaller radii keep the effect tight and local to fine detail.
Lighting
This group controls Mandelbulb’s default key light and ambient light. Note that any point lights already present in your composition are read and applied automatically, in addition to whatever is set here.
Light X / Light Y / Light Z: The 3D position of the built-in key light within the scene.
Light Color: The color of the built-in key light.
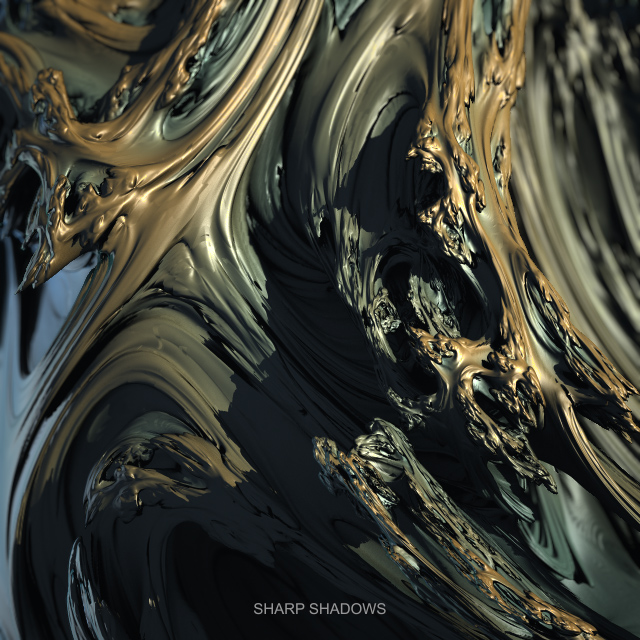
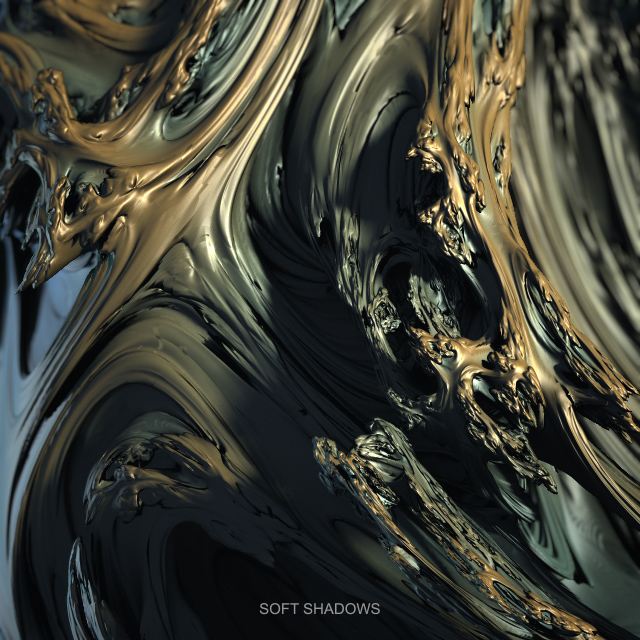
Light Size: The physical size of the light source, from 0.0 to 20.0. A size of 0 produces a hard-edged point light with crisp shadows; larger values simulate an area light, producing soft, gradually feathered shadow edges. Creative Use-Case: Raise Light Size for an overcast, diffuse look; keep it at 0 for a harsh, high-contrast sunlight look.
Light Intensity: The brightness of the built-in key light.
Shadow Intensity: Controls how dark the shadows cast by the key light appear, from 0.0 (no shadow) to 1.0 (fully black).
Shadow Samples: The number of samples used to compute soft shadows when Light Size is greater than 0, from 1 to 256. Higher values smooth out noise in soft shadow edges at the cost of render time.
Ambient Intensity: The strength of a flat ambient light term applied to the whole fractal, independent of the key light’s direction.
Ambient Color: The color of that ambient light term. Creative Use-Case: Set Ambient Color to a cool blue and Light Color to a warm orange for a classic day-for-night or sunset rim-light look.
After Effects Point Lighting
Mandelbulb also supports lighting using up to 8 After Effects point lights, for complex and impressive lighting effects. You can change the light color, intensity, shadow intensity and even the shadow softness by adjusting the point light parameters.
Just like the Mandelbulb fractal, the point lights are situated in 3D space, allowing you to place lights behind, in front or anywhere desired. Lights must be point lights, as other light types are not supported.
HDRI Environment
This group lights the fractal using high dynamic range images (image-based lighting) sampled from any layer in your project. There’s no separate file import required, and no toggle to remember: the environment activates as soon as a layer is assigned. For the most accurate lighting, use 32-bit HDRI images such as .HDR or .EXR images. Polyhaven.com is a great resource for free, high-quality HDRI images.
HDRI Layer: A layer dropdown for choosing which layer in your composition supplies the environment lighting. Creative Use-Case: Point this at a stock sky or nebula image to instantly light and color the fractal as though it were sitting inside that environment.
HDRI Intensity: The overall brightness contribution of the environment light, from 0.0 to 10.0.
HDRI Rotation: Rotates the environment around the fractal on its vertical axis, letting you aim brighter or darker parts of the environment image toward the surface without moving the layer itself.
HDRI Samples: The number of hemisphere samples used to gather environment light, from 1 to 256. Higher values reduce noise in the environment lighting and soft reflections at the cost of render time.
HDRI Shadow Intensity: Controls how strongly the environment casts occlusion shadows onto the fractal, from 0.0 to 1.0.
HDRI Specular: A checkbox that adds a Phong-style specular highlight sourced from the environment itself, on top of the standard specular pass. This is off by default, since it requires an additional hemisphere sampling pass – enable it when a shot specifically needs a bright, reflective environment highlight.
Rendering & Camera
This group covers overall render quality, how the fractal composites with your footage, and camera-driven effects.
Supersampling: The number of anti-aliasing samples taken per pixel, from 1 to 10. Higher values produce cleaner, smoother edges on the fractal. Creative Use-Case: Work at a Supersampling value of 1 or 2 for speed while setting up a shot, and raise it to 6–10 only for your final export.
DoF Samples: The number of samples used to compute depth-of-field blur, from 1 to 256, driven by your composition’s active camera focus distance. Higher values produce smoother, less grainy out-of-focus areas. Mandelbulb supports fully-raytraced depth of field. To enable it, simply enable the Depth of Field parameter in your 3D camera’s Camera Options group. Additionally, you can enhance highlights by tuning the Highlight Gain and Highlight Threshold parameters in the same section.
Composite On Original: A checkbox controlling whether the fractal renders over the layer’s original source footage (checked) or on a transparent background by itself (unchecked, the default), for independent compositing and stacking.
Depth Map: A checkbox that switches the effect from a fully shaded render to a normalized depth output. When enabled, all shading (including lighting, shadows, ambient occlusion, and HDRI) is bypassed, and the effect instead outputs the fractal’s camera-space depth as grayscale. Enabling this activates the two Depth Distance parameters below. Creative Use-Case: Use Depth Map mode to generate a depth pass for driving a separate 2D fog or depth-of-field effect elsewhere in your stack. Using a faster, post-depth of field solution such as DOF PRO can result in faster output since raytraced depth of field is extremely computationally taxing.
Depth Start Distance: The camera distance, in AE Z-depth pixels, that maps to a depth output value of 0.0 (black), when Depth Map is enabled.
Depth End Distance: The camera distance, in AE Z-depth pixels, that maps to a depth output value of 1.0 (white), when Depth Map is enabled.
Changelog
v1.0 – First release.
Installing this software is easy and only requires three simple steps:
1 – Download the software by clicking on the Download Demo button located above on the software page. This will prompt you to save a .zip file on your computer.
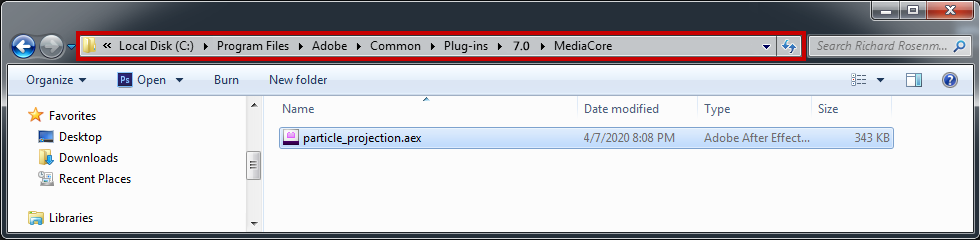
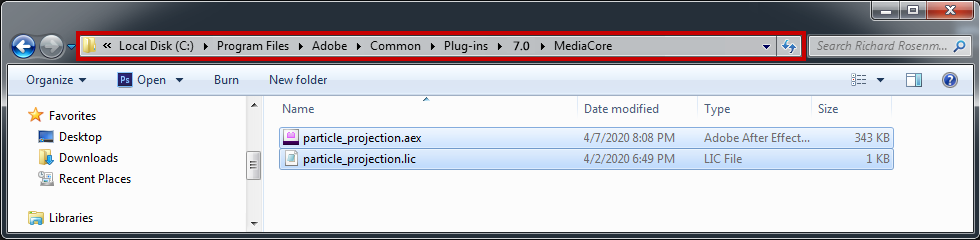
2 – Extract the contents from the .zip file and place the .aex file into your host’s plugin folder. For all Adobe After Effects versions CS6 and higher, this folder is the MediaCore folder. Place the .aex file into the location shown below. You can make a sub-folder to keep your plugins organized.
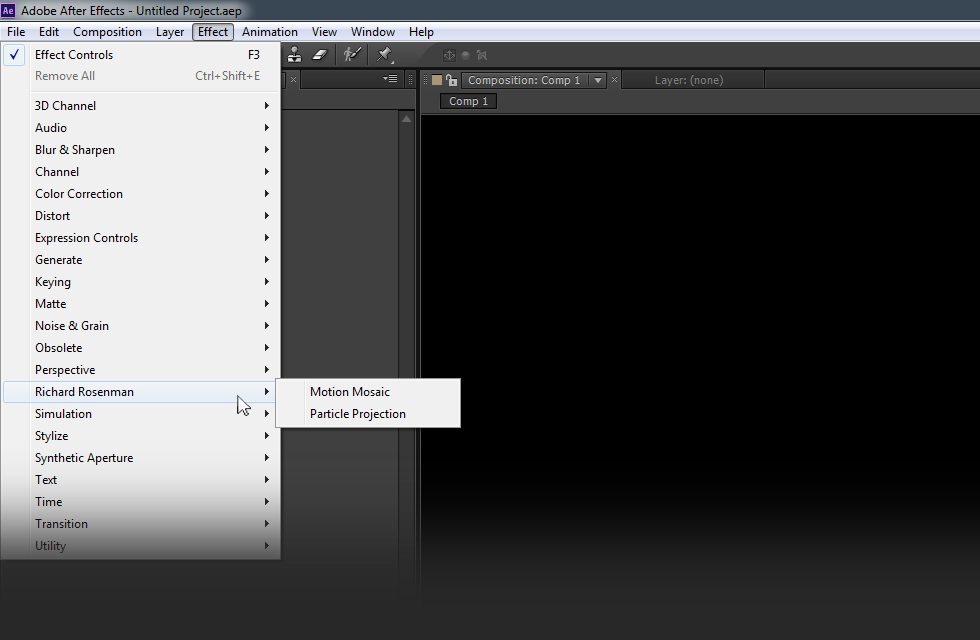
3 – Launch Adobe After Effects, create a new composition, add a new solid, and click on Effect > Richard Rosenman > Effect Name.
If you have purchased a commercial license, please review the activation section.
If you have purchased a commercial license, you must activate your software. You can manually activate your software at any time by logging into your account. Activating this software is easy and only requires five simple steps:
1 – Log into your account by clicking on the Account button in the top menu.
2 – Click on VIEW to display the order details containing the product you wish to activate.
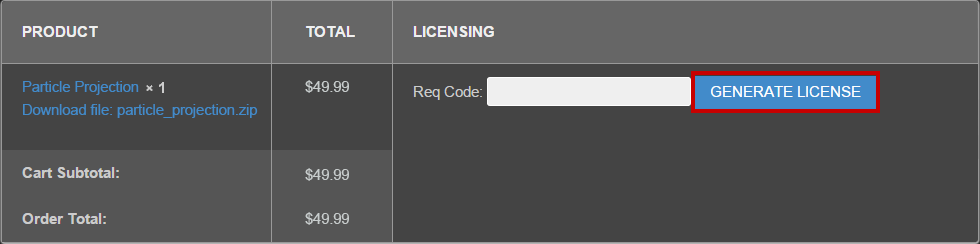
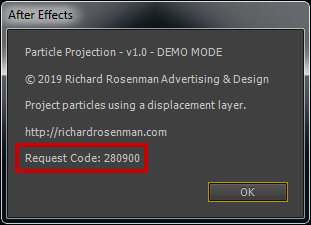
3 – Enter your request code and click GENERATE LICENSE. Please see below for info on how to retrieve your request code.
Your request code can be found by right-clicking on the plugin name in the effect window and selecting About.
4 – A file prompt will ask you to save the license file. You must save this license file in the same folder the plugin resides in.
Place the .lic file into the location shown below. You can make a sub-folder to keep your plugins organized.
5 – Relaunch Adobe After Effects, create a new composition, add a new solid, and click on Effect > Richard Rosenman > Effect Name.
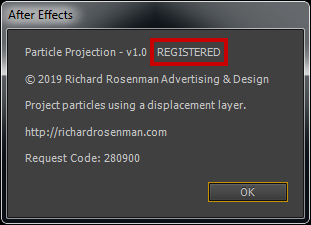
If you on click the About button located at the top of the plugin interface once again, your software should now display REGISTERED. If it is registered but you still see a red x, simply clear your cache. It is now unlocked and ready for use.
This software is compatible with the following Windows OS:
Windows 11 Home 64 bit
Windows 11 Pro 64 bit
Windows 11 Enterprise 64 bit
Windows 11 Education 64 bit
Windows 10 Home 64 bit
Windows 10 Pro 64 bit
Windows 10 Enterprise 64 bit
Windows 10 Education 64 bit
Windows 8 64 bit
Windows 8 Pro 64 bit
Windows 8 Enterprise 64 bit
Windows 7 Home Basic 64 bit
Windows 7 Home Premium 64 bit
Windows 7 Professional 64 bit
Windows 7 Enterprise 64 bit
Windows 7 Ultimate 64 bit
This software is compatible with the following hosts:
Adobe After Effects (Version CS6 or higher, including CC) 64 bit